
How to Brine Your Turkey
Lynley Jones
Recipe for a savory wet brine with white wine, herbs and spices to add lots of flavor to your holiday turkey. Plan to brine your turkey overnight, for about 12-18 hours total.
When you’re ready to roast your turkey you can use this recipe: Classic Roast Turkey
Makes enough brine for one turkey up to 20 pounds
Ingredients
1 Brining Blend from Adventure Kitchen Brining Kit, or:
1 1/4 cups Diamond Crystal kosher salt (or half as much if using table salt)
2 tablespoons whole coriander seeds
2 tablespoons whole black peppercorns
1 tablespoon dried juniper berries
1 tablespoon fennel seeds
1 teaspoon mustard seeds
Optional but very nice: 1 quart dry French vermouth or white wine
2 medium onions, sliced
6 garlic cloves, crushed with skins removed
1 bunch fresh thyme
1 turkey (any size up to about 20 pounds), giblets removed, rinsed
Turkey in brine in the Adventure Kitchen.
Instructions
1. Combine salt and spices with 2 quarts of water in a medium saucepan. Stir over medium-low heat until the salt is completely dissolved, then remove from heat.
2. Add the vermouth or wine, or one quart of cold water if you prefer. Add the onions, garlic and thyme. Stir to combine and allow the mixture to cool to room temperature.
3. Line a large pot or bucket with a brining bag. Put the turkey in the bag, breast down, with the flap of skin at the neck cavity pulled back if possible.
4. Carefully pour the brining mixture over the turkey, being sure to get some inside the cavity as well as outside the bird. Add a gallon of cold water (again, some inside the cavity, some out. You just want to be sure the brine inside the cavity isn't dramatically stronger or weaker than the brine outside the bird). Carefully close the bag, pressing to eliminate as much air as you can so the turkey is submerged as much as possible, and surrounded by liquid.
5. Put the turkey in a cold place (33-39 degrees Farenheit) to brine for 12-18 hours. You have a few options for this:
Outside! If you live in a colder climate, no cooler is necessary, since it’s usually below 40 degrees overnight before Thanksgiving. Just be sure the pot is covered with something heavy (see pic below) so critters can’t get to the turkey.
In the fridge! If you have a large refrigerator, it’s easiest to just put the whole pot in the fridge. You might be able to adjust the height of the shelf above the turkey to accomodate it, even in a “normal” sized fridge.
In a cooler! If you’re doing this, you’ll want to put bags of ice above the turkey to keep the temperature in the food-safe range. If you live in a warm climate, be sure to keep the cooler in a cool place out of direct sun, and check it periodically to be sure the ice hasn’t melted. It can be tricky to keep it below 40 degrees, so keep an eye on things.
6. When finished brining, discard the liquid. You can lightly rinse the bird if desired to remove stray bits of spices and onion. Pat your turkey dry. Your turkey is now ready for roasting!
Notes:
Our turkey, brining away in cold temperatures on the back porch. Lid secured with a case of beer, which is itself being kept cold until needed for football viewing the following day.
Brining your turkey is actually fairly easy. The only tricky part can be figuring out how to keep it cold for 12-18 hours! Where we live in northern New Jersey, it’s almost always below 40 degrees Fahrenheit outside on the night before Thanksgiving, so we just stash it on the back porch until we're ready for it on the following day. Just be sure to put something heavy on the lid (like the case of beer in the pic) to keep curious critters out, and you're good to go.
If it’s below freezing, outside is still good! The salt in the brining mixture lowers the freezing point, so even at temps in the 20s our turkey has never frozen.
If temps are above 39 but still cooler than inside our house, we put the bagged brining turkey in a cooler instead of the red pot in the picture, and we cover the bird with lots of ice. Then we put the cooler outside to help everything stay cold, again with something heavy on the lid to keep it safe from nocturnal critters.
If you use the cooler approach, be sure to put the ice on top of the turkey rather than underneath it. (Heat rises, which means cold falls - so ice under the turkey will only keep the bottom of the turkey cold. To keep the whole bird cold, you have to put the ice on top of your turkey.) Don’t mess around with this, people! Food-borne illness on Thanksgiving would be a real bummer. Don’t be that guy!
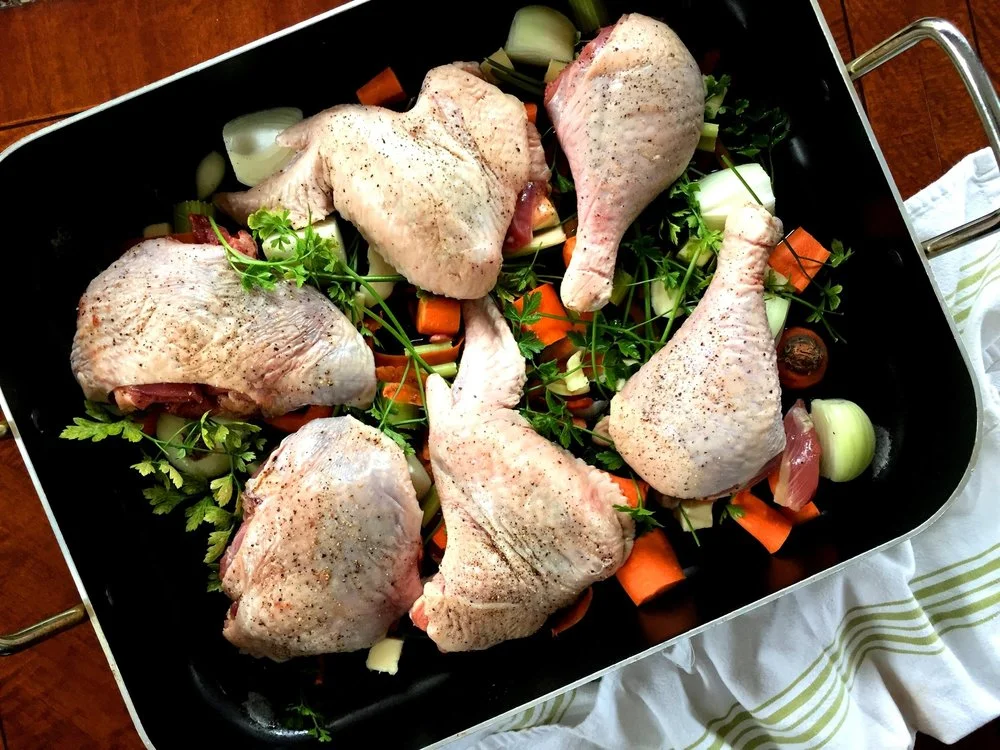
If you live in a warm climate (hi, Phoenix friends!), it might be easier to manage the temperature if you brine the turkey in the fridge. You can make space by keeping other things (carrots, celery, veggies, etc.) in the cooler.
Spices and ingredients used in this recipe:

A cute little box with everything you need to brine your turkey! Includes our original Brining Blend of organic bay leaves, spices and kosher salt; a brining bag; twine for your turkey and complete instructions. Locally made by us in small batches. Organic ingredients.
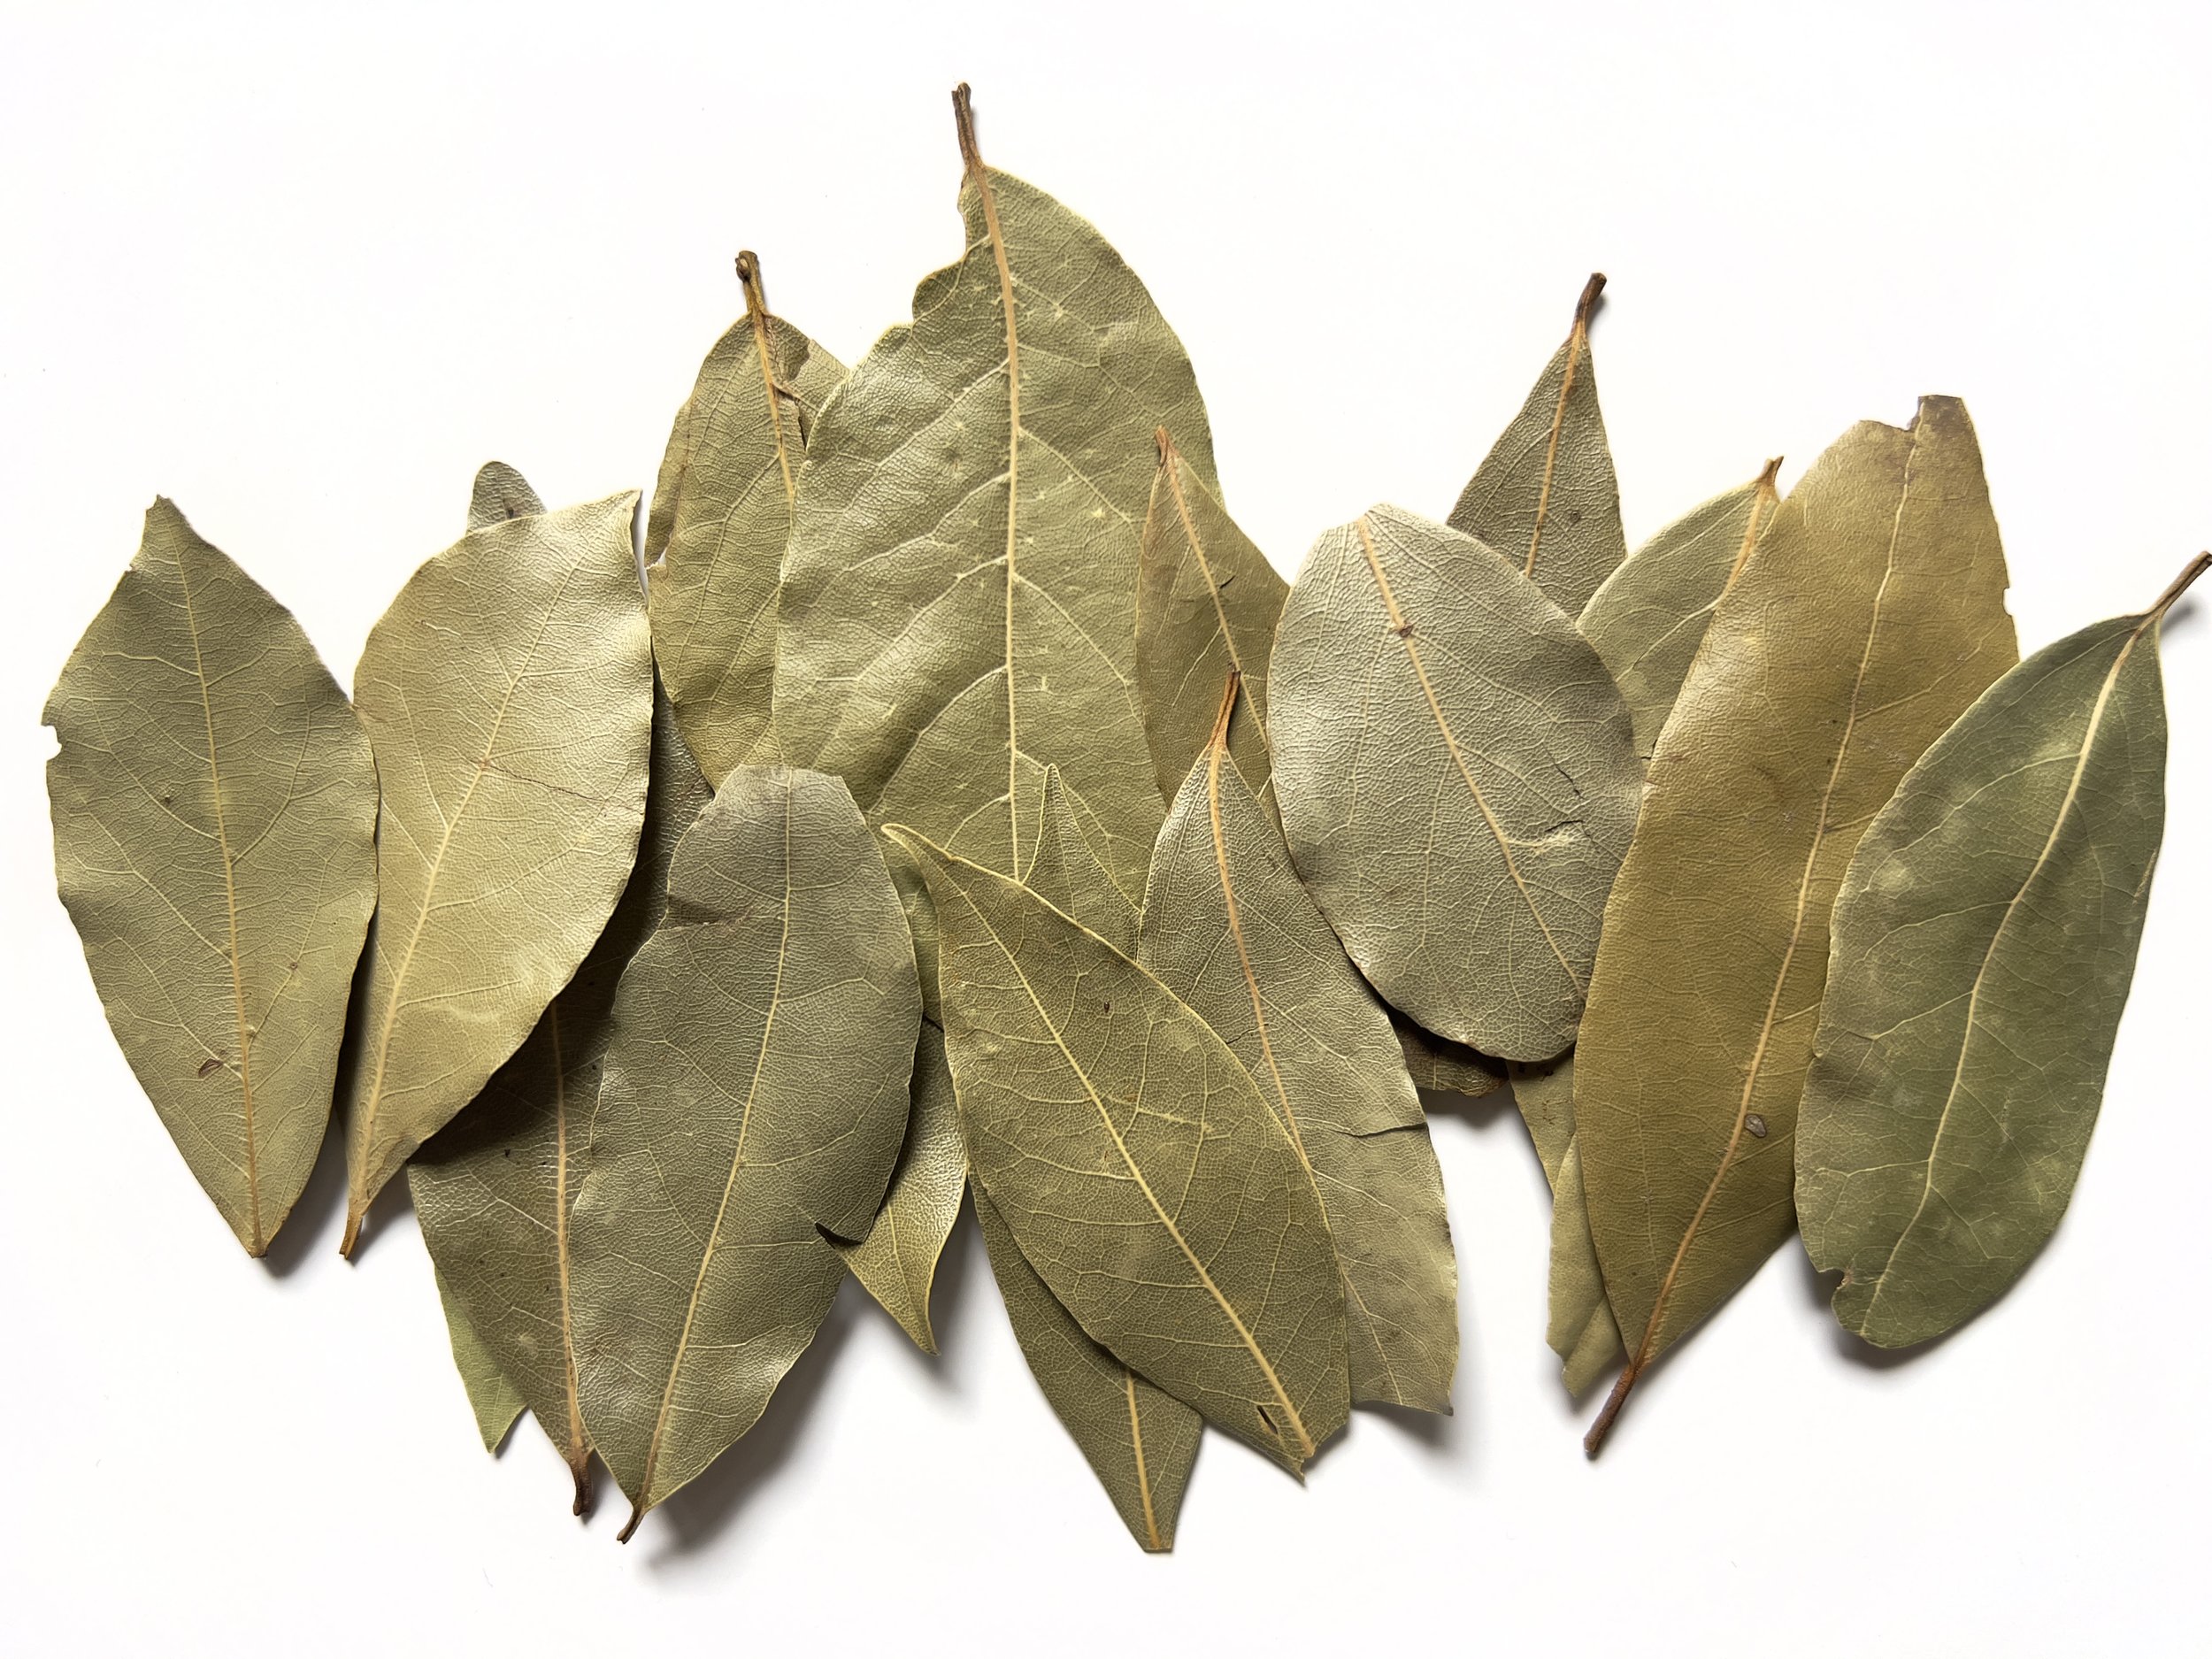
Pure, organic, Premium Hand Select Grade true bay laurel leaves (Laurus nobilis). No GMOs, not irradiated. Certified Organic by QAI. Harvested from the north coast of Turkey.
Fragrant and flavorful, our bay leaves have an earthy aroma that adds savory flavor to any dish. Use them in soups, stews, or any slow-simmering savory dish, where they will gradually steep into the dish as it cooks, contributing its herbal flavor. Or, grind it and sprinkle it over chicken, meat, potatoes or vegetables with some salt and pepper for an herby twist.
Each jar contains 7 grams (about twice as much as a grocery store jar!)

Coriander seeds are the seeds of the cilantro plant, and have a similar flavor but with a nuttier edge. Use them whole to infuse soups, stews and beans with flavor, or crush them in a mortar and pestle and sprinkle them over chicken, meats or veggies.
1/2 cup-sized jar.

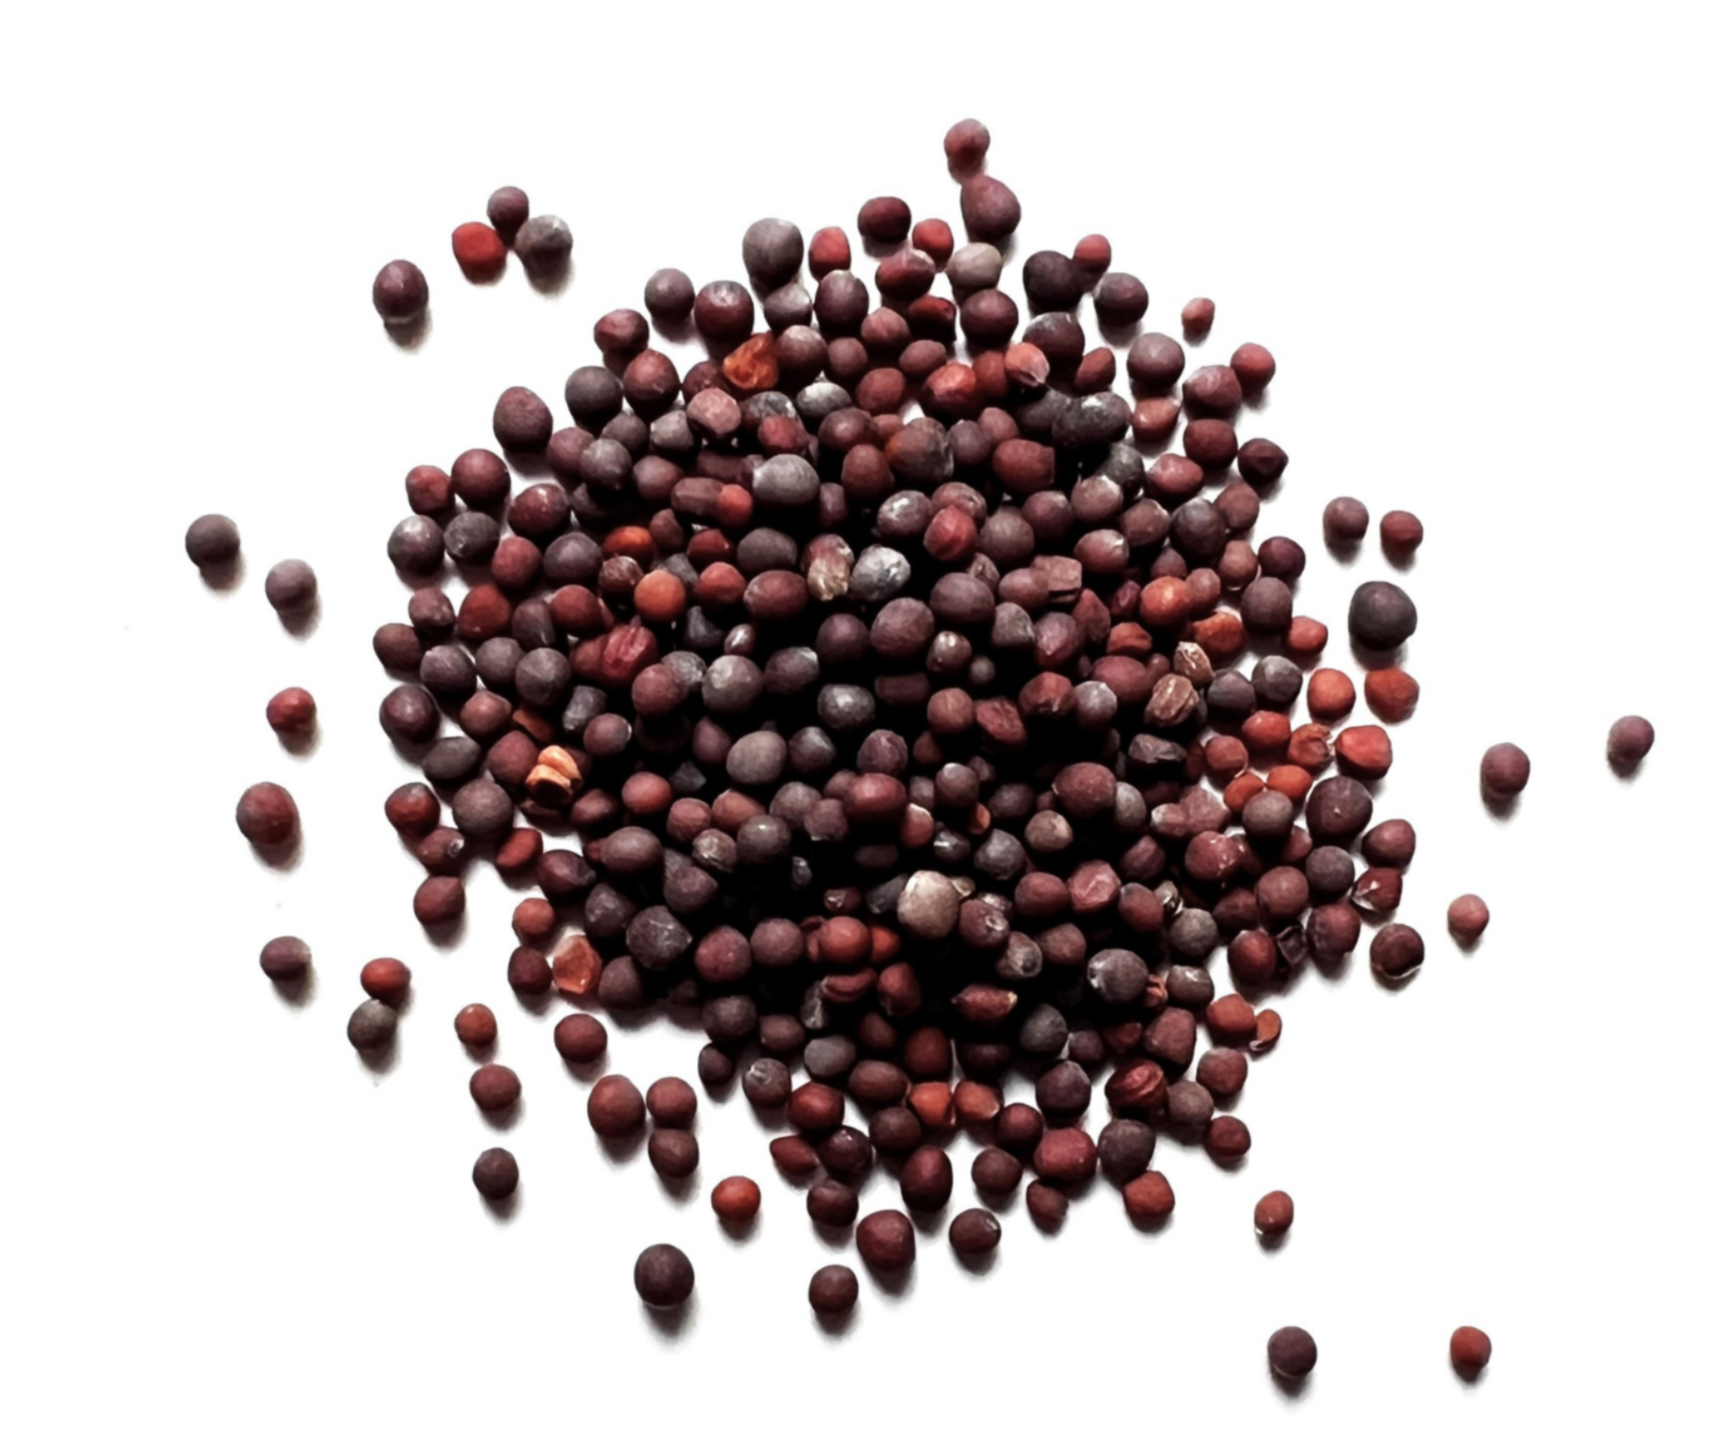
Organic. Juniper berries are harvested from evergreen junipers in fall and winter. They have a pleasant, slightly sweet flavor with a piney-floral aroma. Crush them slightly and use them with brines and meat, in cocktails, or to add an herbal note to something sweet.
1/2 cup sized jar.

Our sinlge-origin Hariyali Fennel seeds are grown on Sakariya family farm in Shedubhar, Gujarat in India. This variety has been derived from the family’s indigenous seed collection, and grows alongside chillies and coriander. Gentle post-processing allows it to retain its soft green color.
1/2 cup-sized jar.
After you brine your turkey, you can use either of these recipes to roast it…
Explore more Adventure Kitchen recipes…


Why it works: a wine-and-butter soaked cheesecloth keeps the turkey breast moist and flavorful during cooking, and adds lots of flavor to pan juices to make delicious gravy. See notes at the end of the recipe for more details.