Week 1 - Great Crust is a Must!
We begin by learning to make Pâte Brisée - basic French pie crust pastry. When you can make a great crust, everything else can, literally, fall into place.
Recipe: Pâte Brisée (basic pie crust pastry)
by Lynley Jones
Shattered Pastry
The basic pie crust pastry is called Pâte Brisée, pronounced "PAT bri-ZAY." Like so many wonderful things in cooking, Pâte Brisée comes to us from France, where the words literally mean "shattered" or "broken" pastry. When you think of what happens to a wonderfully flaky pie crust when you cut into it with a fork, this makes sense. Well-made Pâte Brisée will break into light layers that flake apart upon impact. Yum.
To Make or Buy
Pâte Brisée
Here's the thing: any reasonably good homemade pie crust is going to taste much better than the store-bought kind. There is something about the fresh, buttery goodness of homemade pie crust that is just inexplicably not there in a store-bought crust. And for some reason, frozen pie crust always seems to crack when I use it. (They should include extra pastry in the package to make repairs, but alas, they don't.)
But look, we all live in the real world. if you're at the store and pressed for time, and buying that frozen pie crust means the difference between baking a pie or not - by all means buy the pre-made pie crust! I certainly have. But if you can carve out a little time to learn how, you'll probably find (as I eventually did) that making your own doesn't actually take that much more time. It takes about 15 minutes to make Pâte Brisée, and about 3 minutes to roll it out.
The one thing you do need to do is plan ahead, at least a little. After you make the pastry, you'll need to rest and chill it before rolling it. About 15 minutes in the freezer is a speedy solution if you're pressed for time. (But actually, now that I think about it, buying it at the store requires planning ahead as well....)
Keys to Making It Great
If you want your homemade pie crust to turn out light, flaky and delicious, here are all the tricks of the trade:

1) Keep everything cold. The butter should be straight out of the refrigerator. The water should be iced. You can even refrigerate the flour and the bowl (although I rarely plan ahead enough to do this). Try not to touch the butter or the pastry directly with your warm hands. Some chefs choose to make pastry first thing in the morning, before the kitchen heats up. And until it’s ready to go into the oven, your pastry should rest in the refrigerator, not on your kitchen counter. (This is the opposite of cake-baking, by the way, in which everything should be room temperature.)
2) Be gentle. Mix the water gently in with a spatula by hand, not with a mixer or in your food processor. Don’t press down too hard with your rolling pin, or overwork the dough in any way. Resist the urge to handle the pastry any more than necessary.
3) Don’t use too much water. A perfectly light, flaky pastry crust needs just enough water to allow it to be pressed together, but not enough to make it a wet dough.
4) Use good judgment. Many factors can affect the way the dough behaves on any given day, and especially how it absorbs water. You may need a splash more or less than the 3/4 cup our recipe calls for on any given day. Depending on the particular brand of flour you are using, the temperature and humidity it was exposed to in storage, and even whether the flour comes from northern or southern wheat can all affect how much water you need to use.
(If you are curious about the science behind all of this, check out this post by J. Kenji Lopez-Alt on the Serious Eats food blog. You might also want to check out his non-traditional alternative method for making pie crust pastry.)
INGREDIENTS Do MATTER
As with all cooking, the ingredients you use will affect how the dish turns out. Two ingredients to pay attention to in Pâte Brisée are the salt and the butter.
In our Pâte Brisée recipe (and 99% of all our other recipes, for that matter) we use coarse salt, which has larger crystals than regular table salt. If you use regular table salt, you will want to use a bit less - the finer crystals mean that you'll actually pack more salt into 3/4 of a teaspoon than we do, so your pastry would taste saltier.
Also, we use unsalted butter in almost all of our cooking, and we do in this recipe as well. This allows the chef (that's you!) to add the right amount of salt for each dish.

Scoop and Level
Our recipe calls for 2 1/2 cups of all-purpose flour, measured using the "scoop and level" method. That means that you scoop flour into your dry measure, then use the flat side of a table knife to scrape off the extra so that it is perfectly level. Never shake the measuring cup or press down on the flour in it - you'll end up using too much flour, and the recipe won't work.
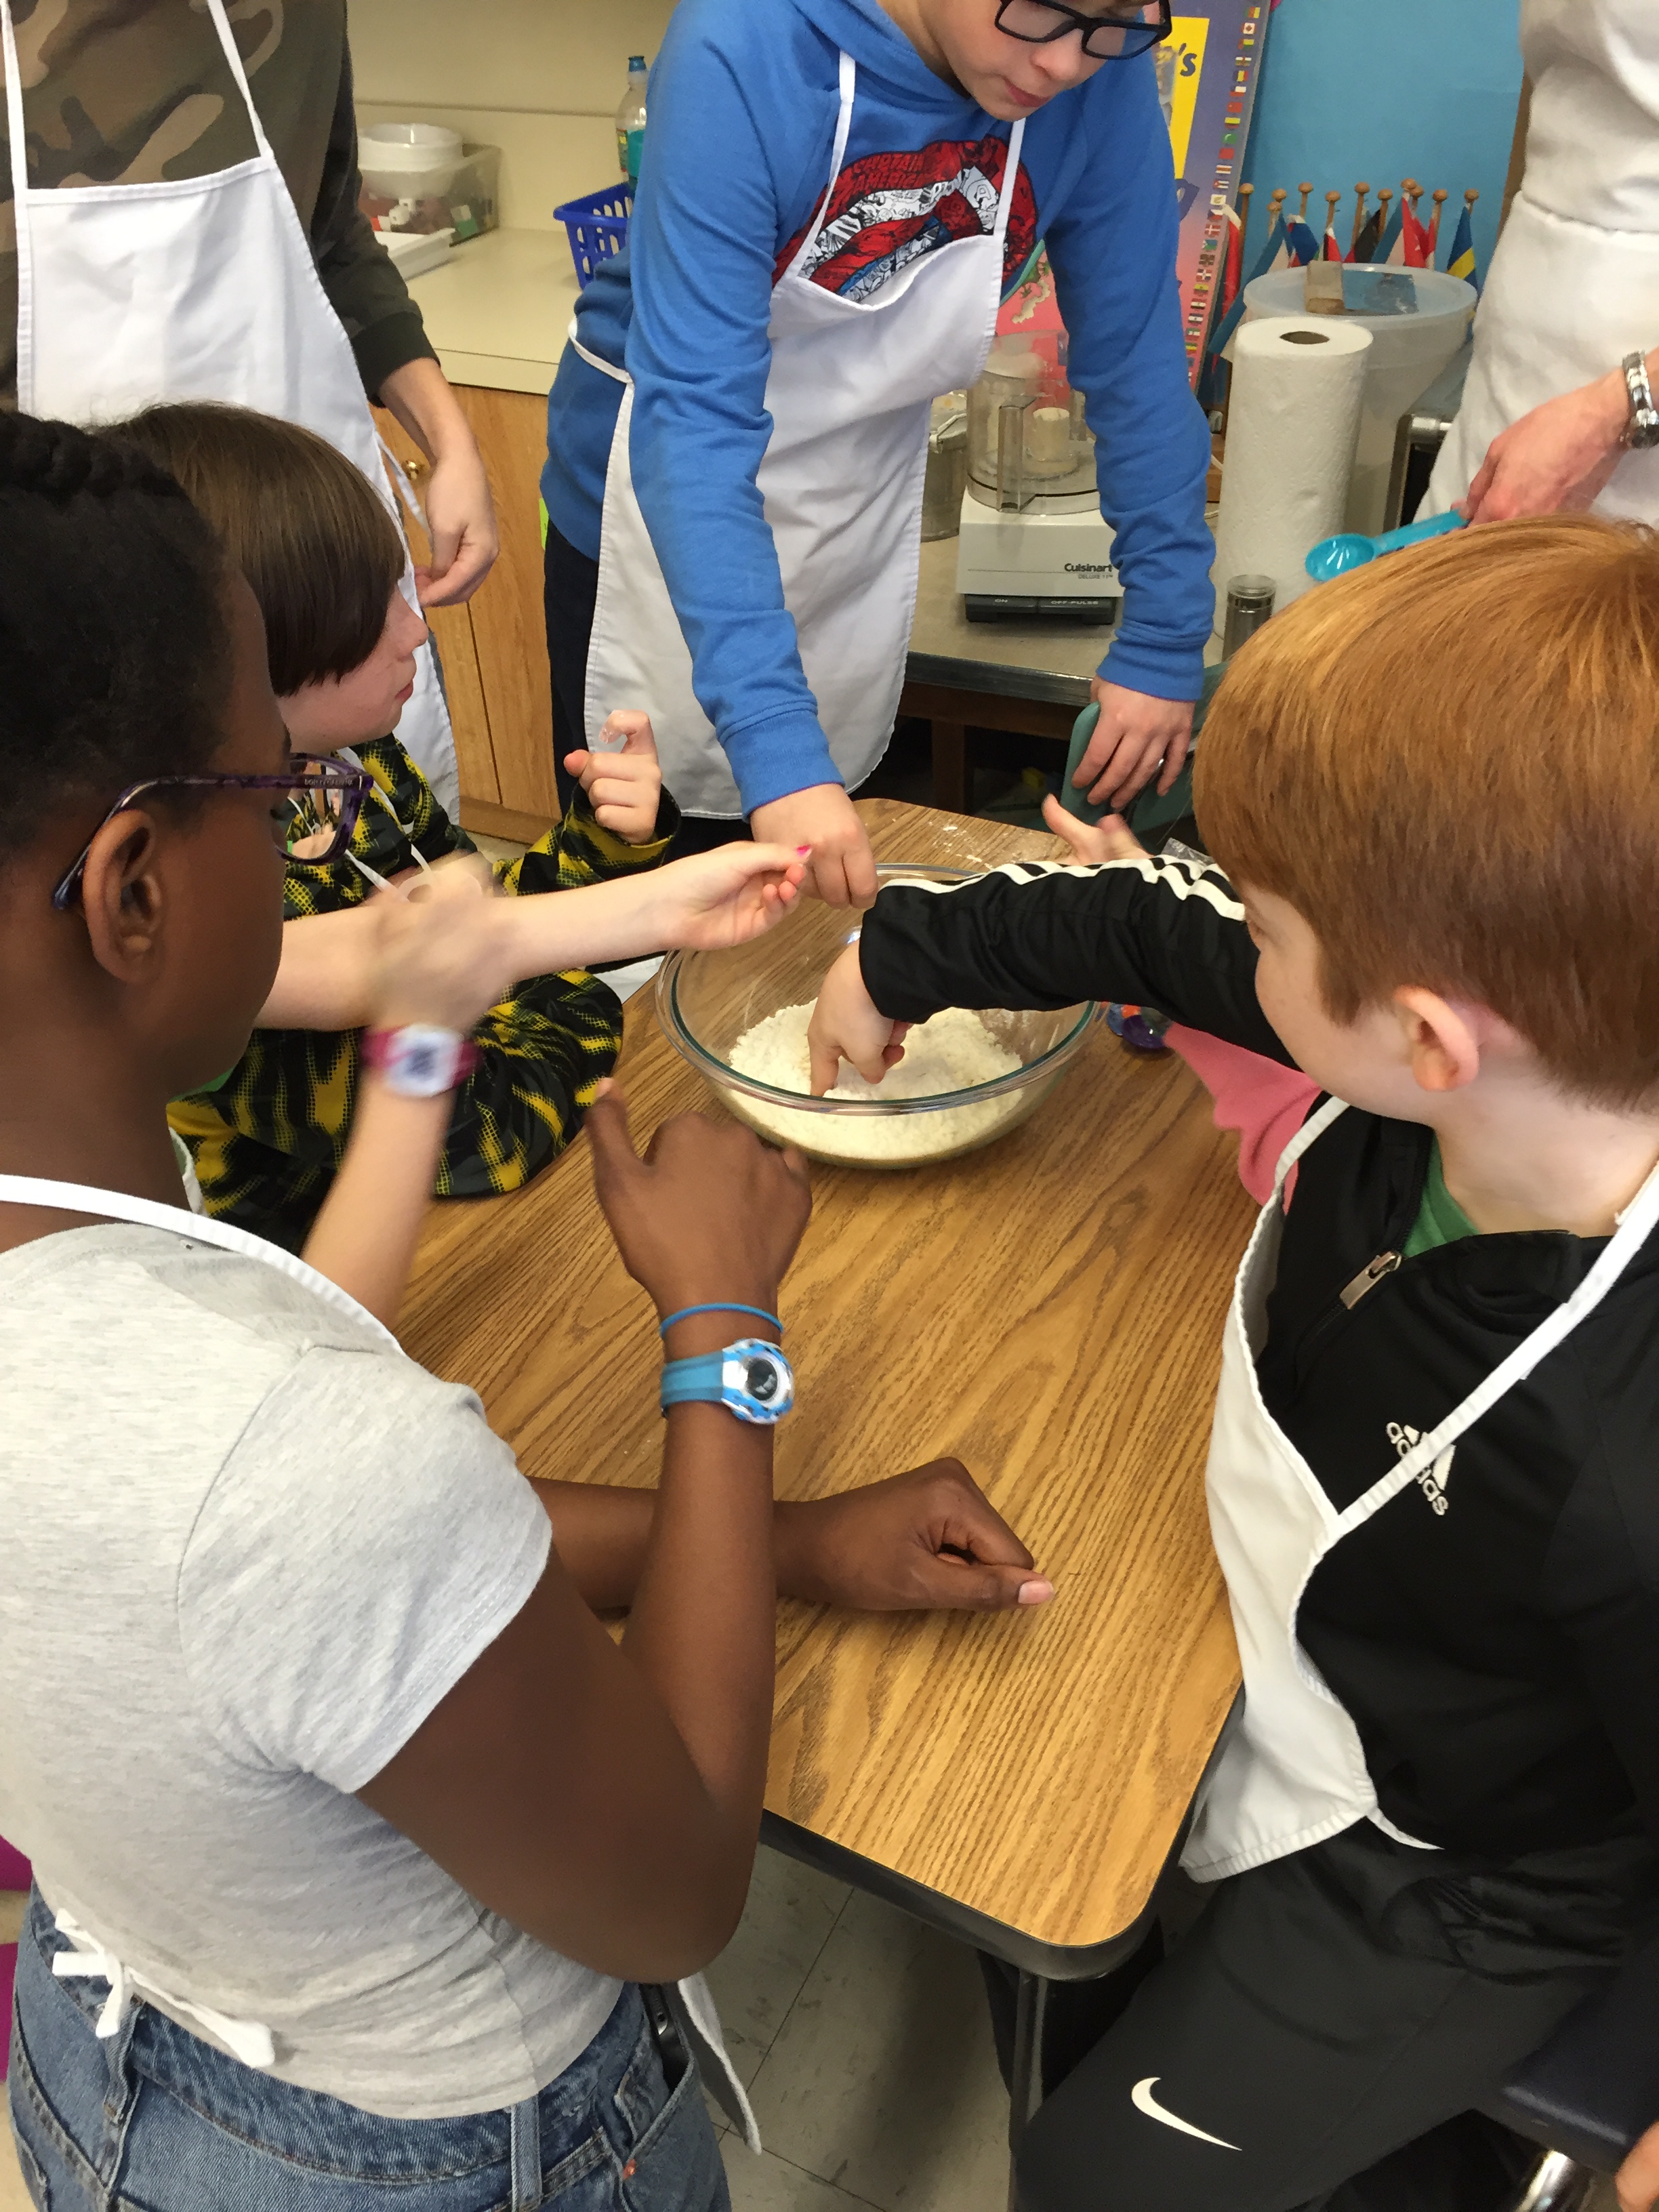
Cutting In
The phrase "cutting in" refers to breaking the butter up into smaller and smaller pieces, distributed evenly throughout the pastry. There are three ways you can do this, depending on the equipment you have at home:

Option 1: Use A Food Processor - By far, the easiest! Use the metal blade and add the butter to the flour and salt in the bowl of the food processor. Use the pulse button several times to chop up the pieces of butter into smaller and smaller bits.

Option 2: Use a Pastry Cutter - Easier to clean, but requires a bit more elbow grease. Use it in a vertically circular motion (ie, trace invisible circles up and down) into and out of the flour, cutting up the clumps of butter as you go. The pastry cutter in the picture is made by Oxo, which makes really great kitchen tools. (This pastry cutter has sturdy wires instead of blades, so the butter doesn't get stuck between them as much.)

Option 3: Use Your Fingers - This is the way our grandmothers did this job for generations, but it is the hardest and slowest method. Use the tips of your fingers to repeatedly lift small portions of flour and butter up from the bowl, rub them between your thumbs and fingers and let them drop back into the bowl. Use a light touch (so you don't warm the pastry too much with your hands), and repeat dozens and dozens and dozens of times.
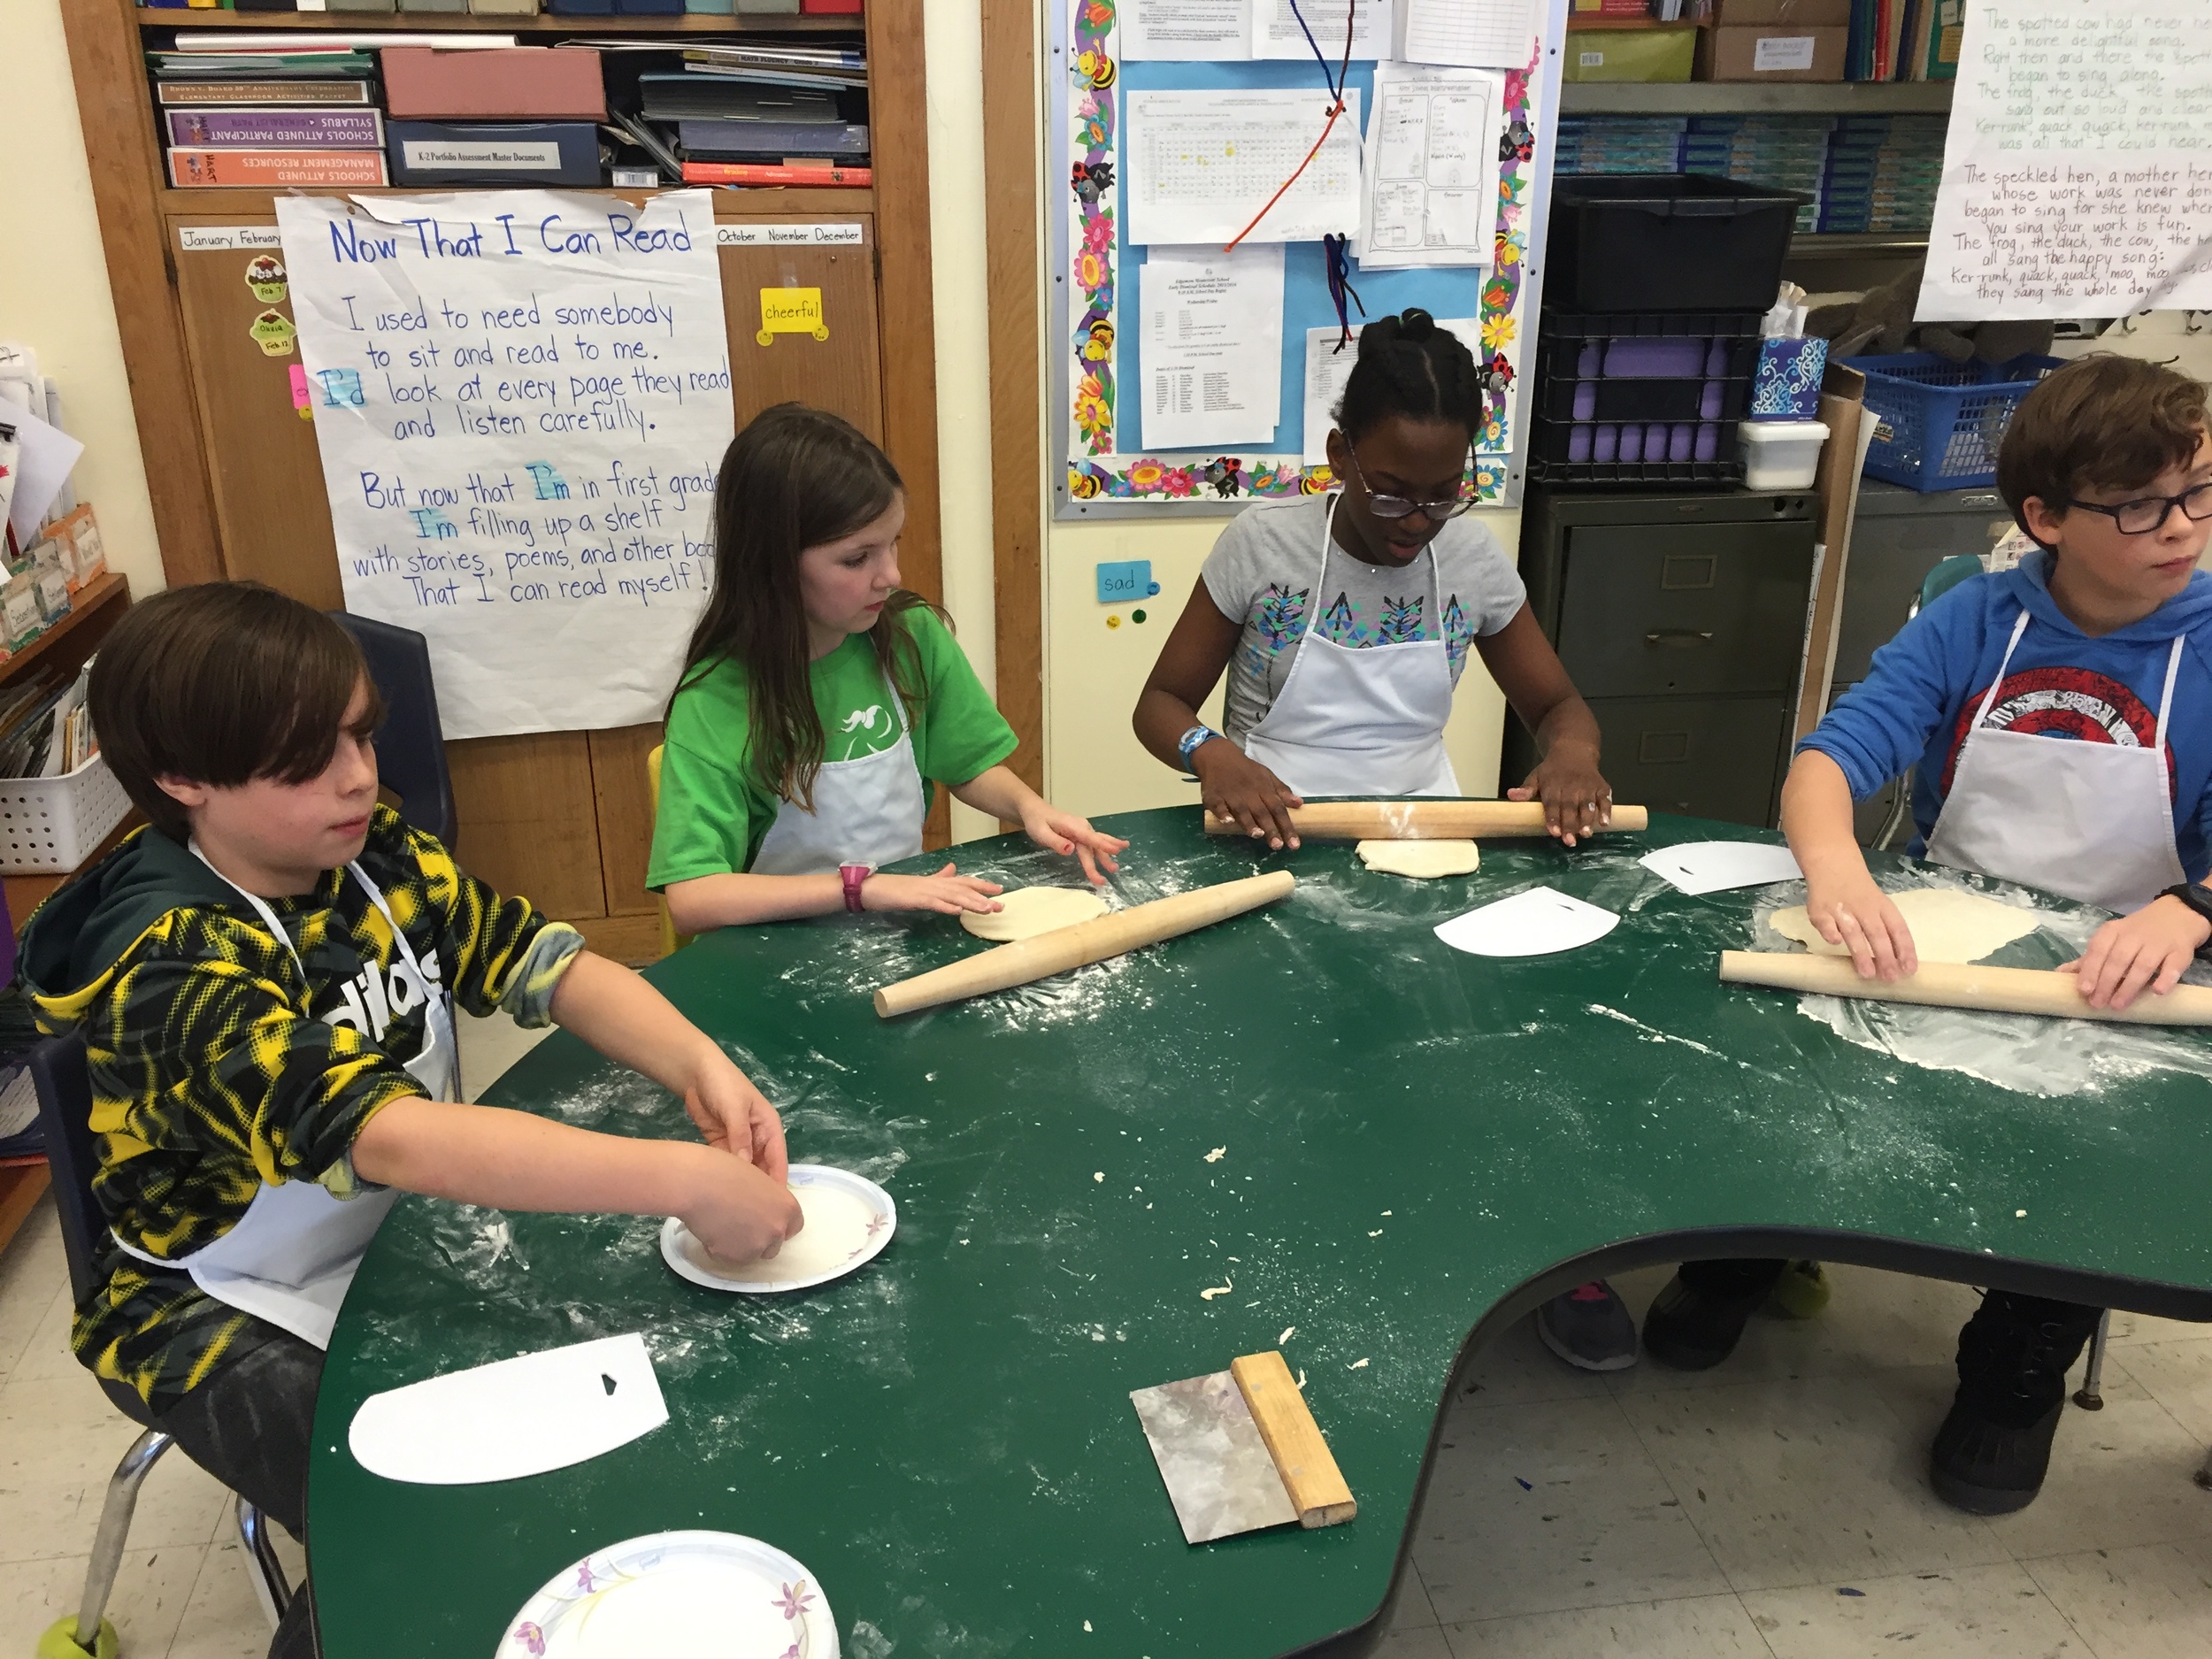
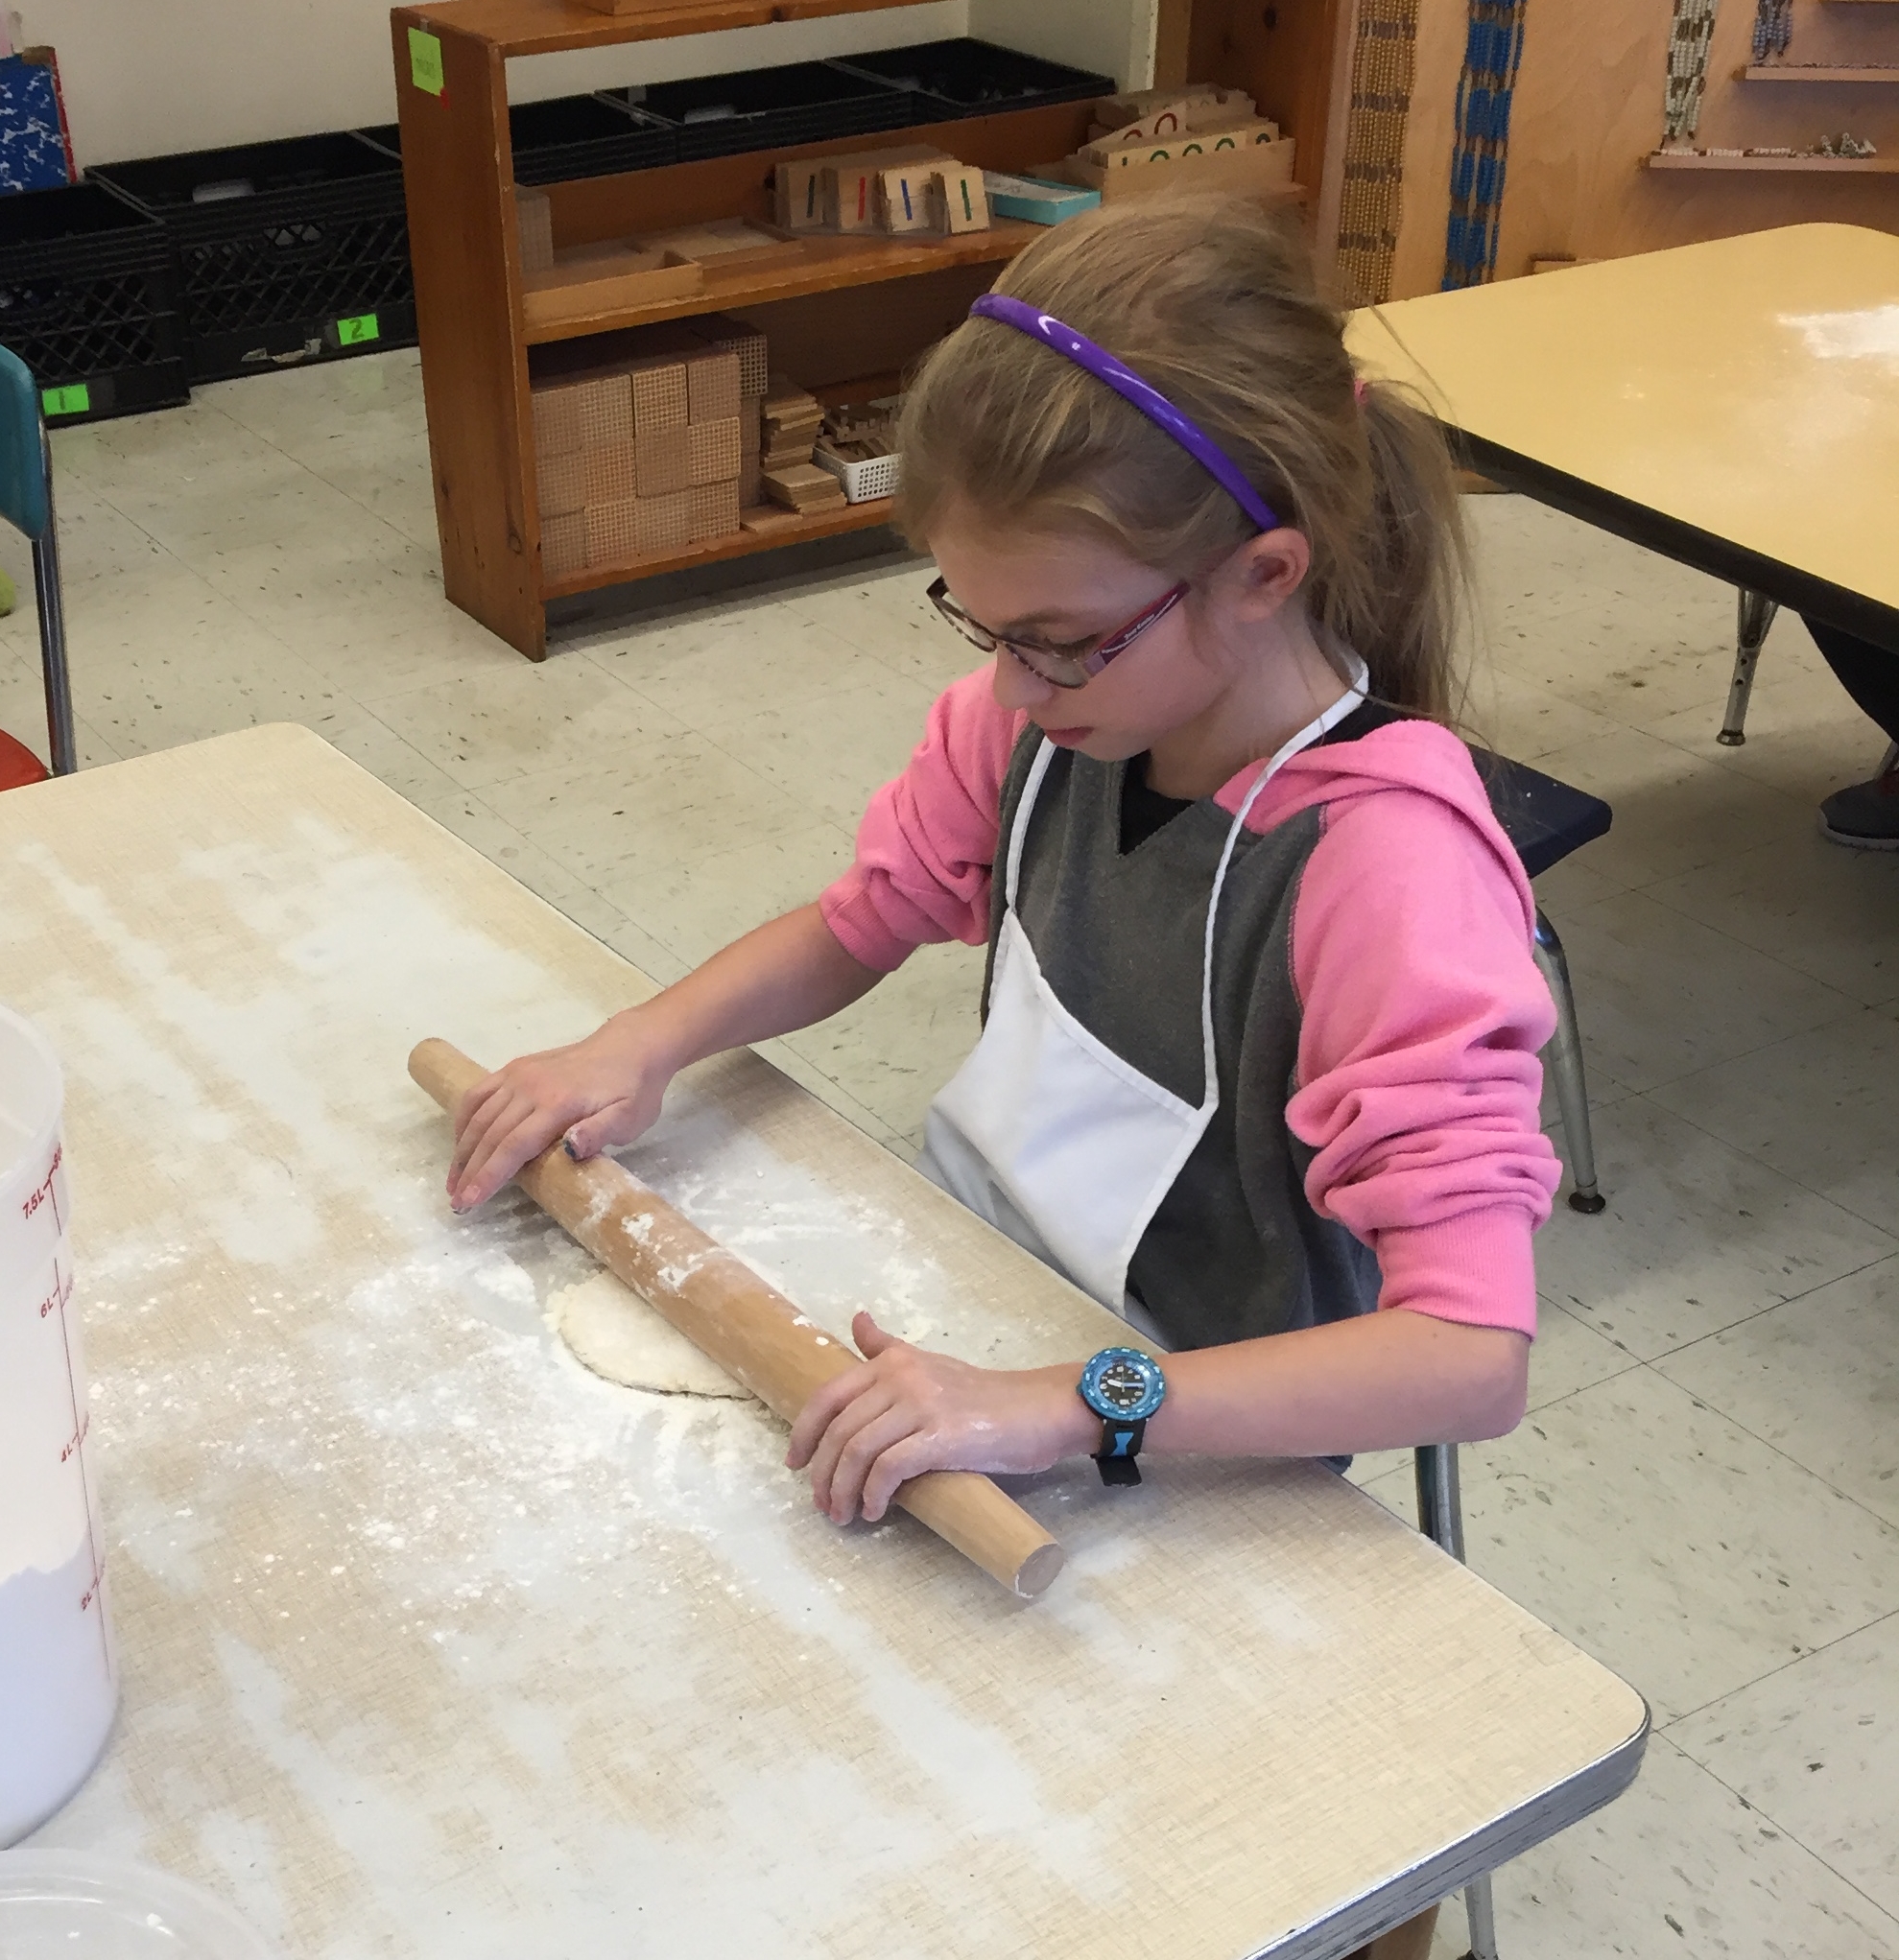
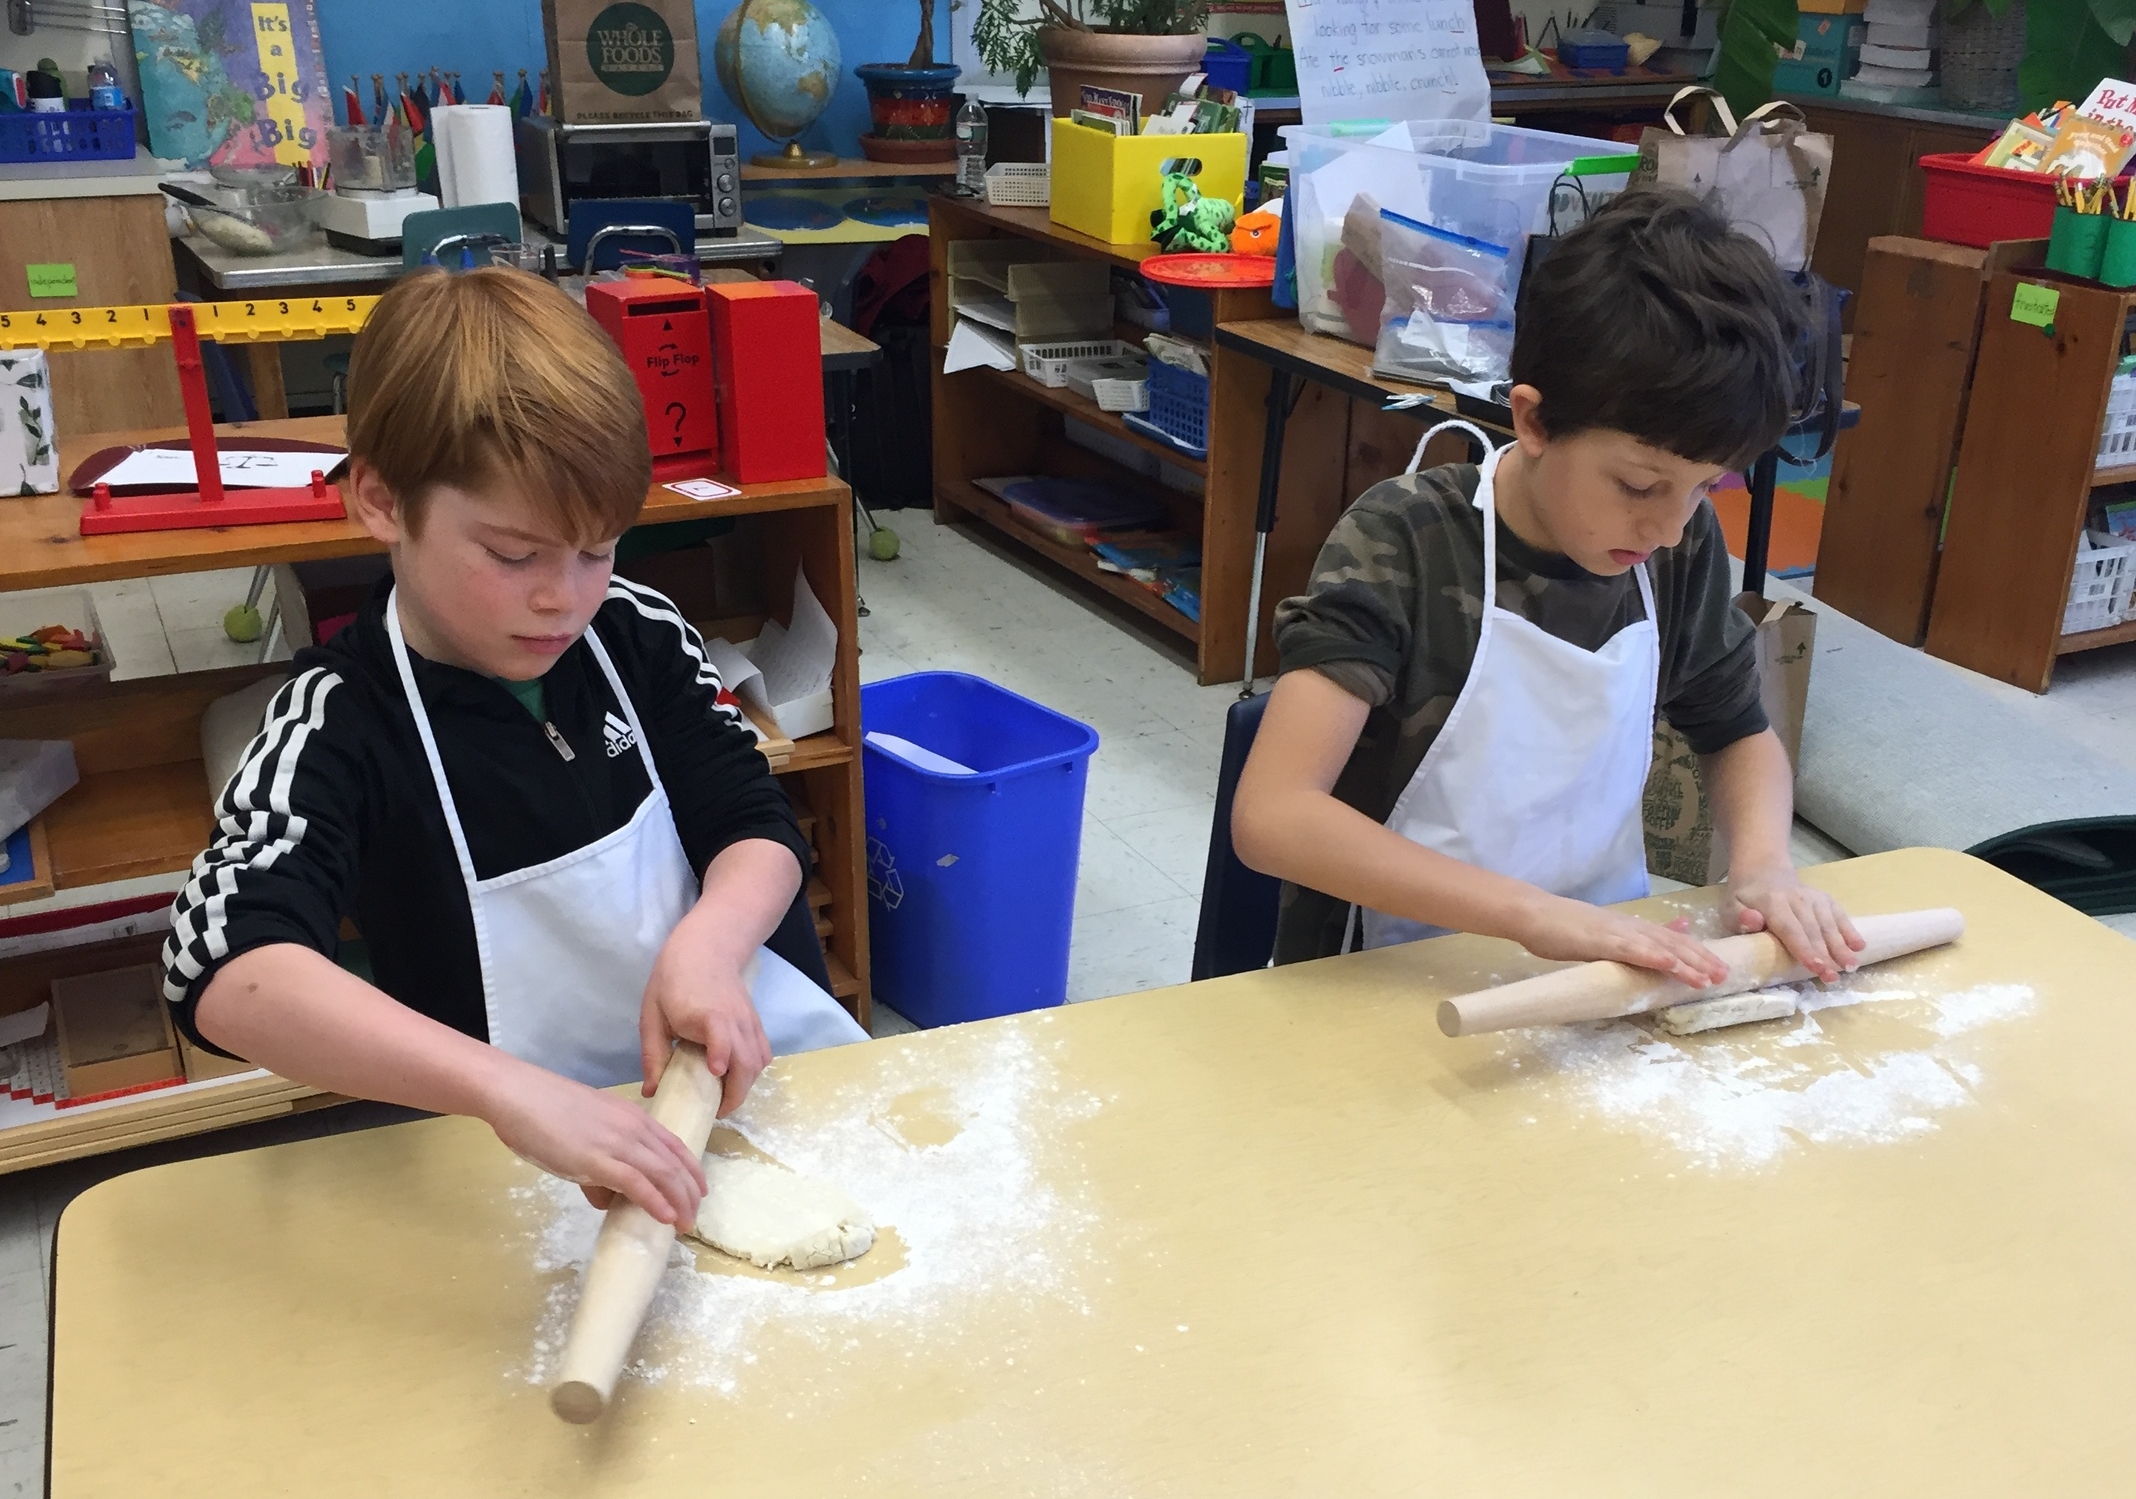
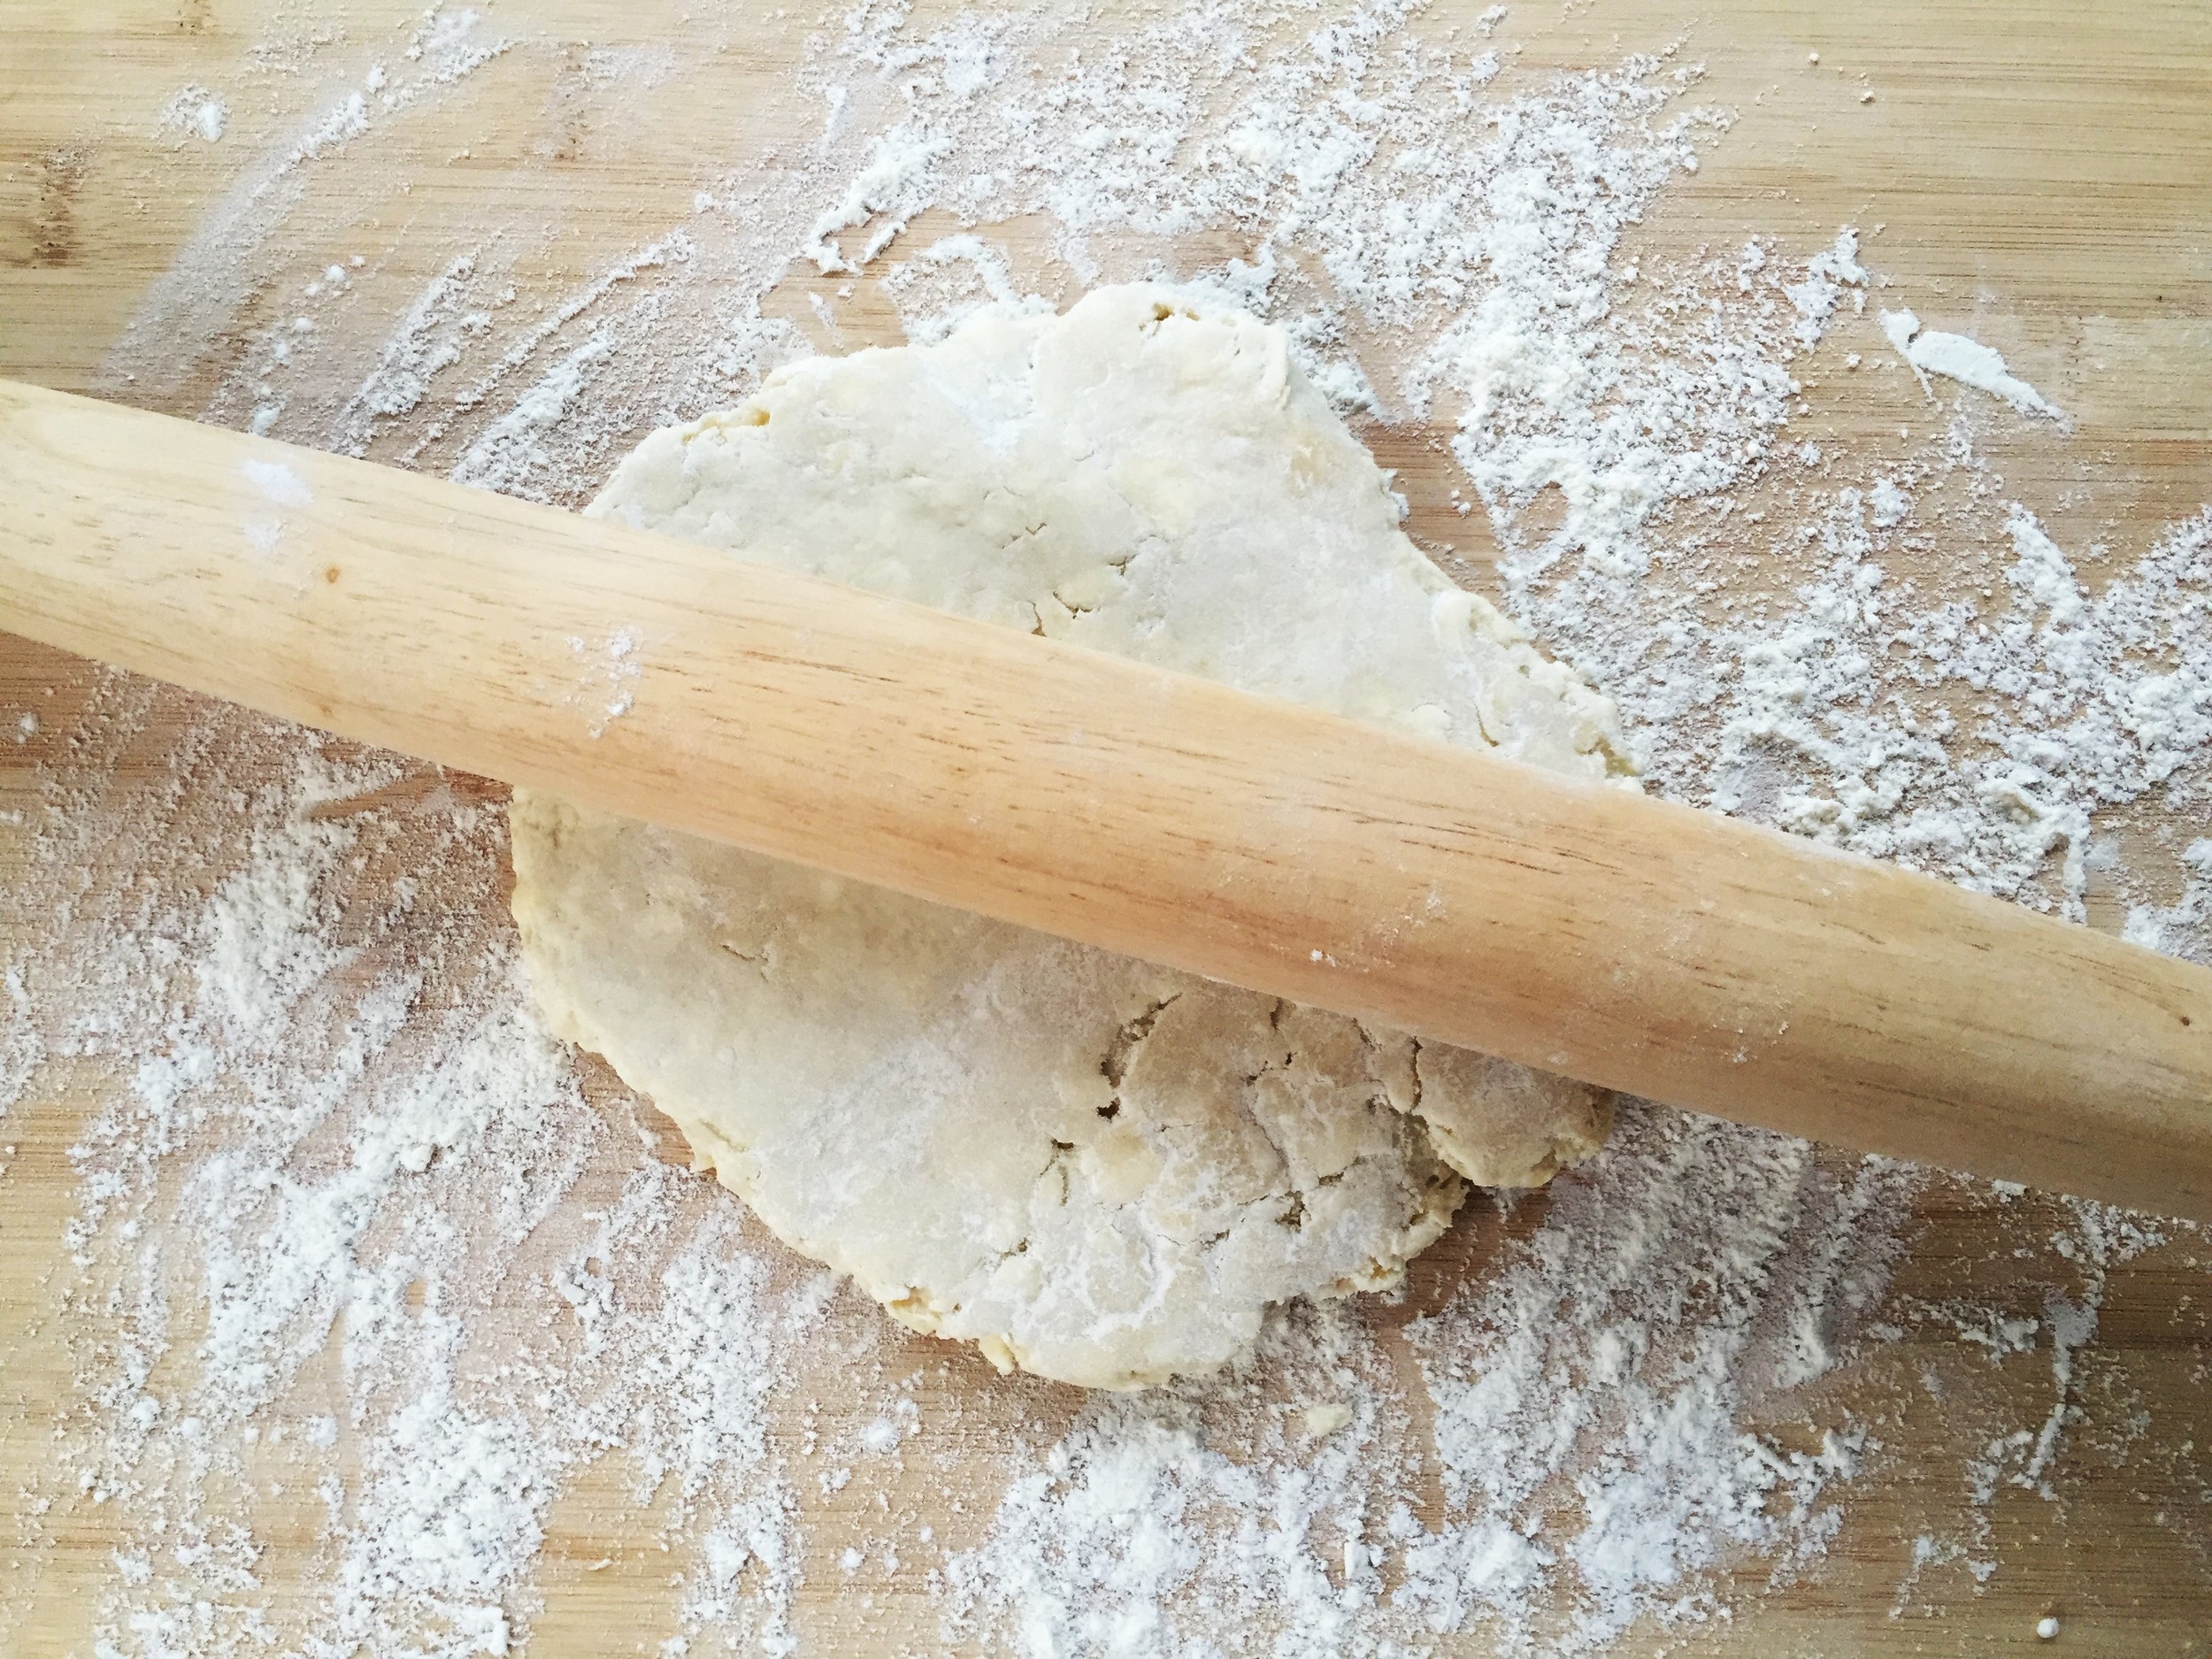
Rolling It Out
As with so many things in cooking (and in life, for that matter!), it's much easier when you know a few tricks.

Be gentle - Don't press down very hard, just allow slow steady movement to nudge the pastry gradually into shape
Don't roll off the edge - If you do, the edges become very thin, while the center remains thicker. When you're making a pie, you'll want to have enough heft around the edges to make it easy to work with. Just roll to the edge of the pastry, but don't go over the edge.
Roll from the middle out - Start your rolling pin in the middle of the disk or circle of dough and roll to one edge, then put the rolling pin back in the middle and roll to the edge in the opposite direction. This will keep the pastry at an even thickness all the way around.

Use a pastry scraper - You use this to keep the pastry from sticking to the surface, and to help you move it around easily without tearing at it or warming it up too much with your fingers.
Choosing a Rolling Pin
Use whatever rolling pin you have on hand! However, if you are in the market for one, I recommend a French pin (pictured). Instead of handles, it is just a long, tapered rod. To use it, you put your hands near the middle of the pin rather than on the ends, and I find that I get a better feel for what's happening with my pastry when I use it. Plus, it's much less expensive (around $10-$15) than a standard rolling pin with handles ($25 and up).
Recipes

Pâte Brisée made in the Adventure Kitchen in January 2016.
Pâte Brisée - Basic Pie Crust Pastry
It only takes about 15 minutes to make this buttery, flaky, delicious pastry.

Pâte Brisée getting rolled out for Pie Crust Cookies in the Adventure Kitchen in January 2016.
You can use the leftover scraps of pastry to make simple, flaky cookies.
Next lession: Cherry Galettes and the Roman Empire
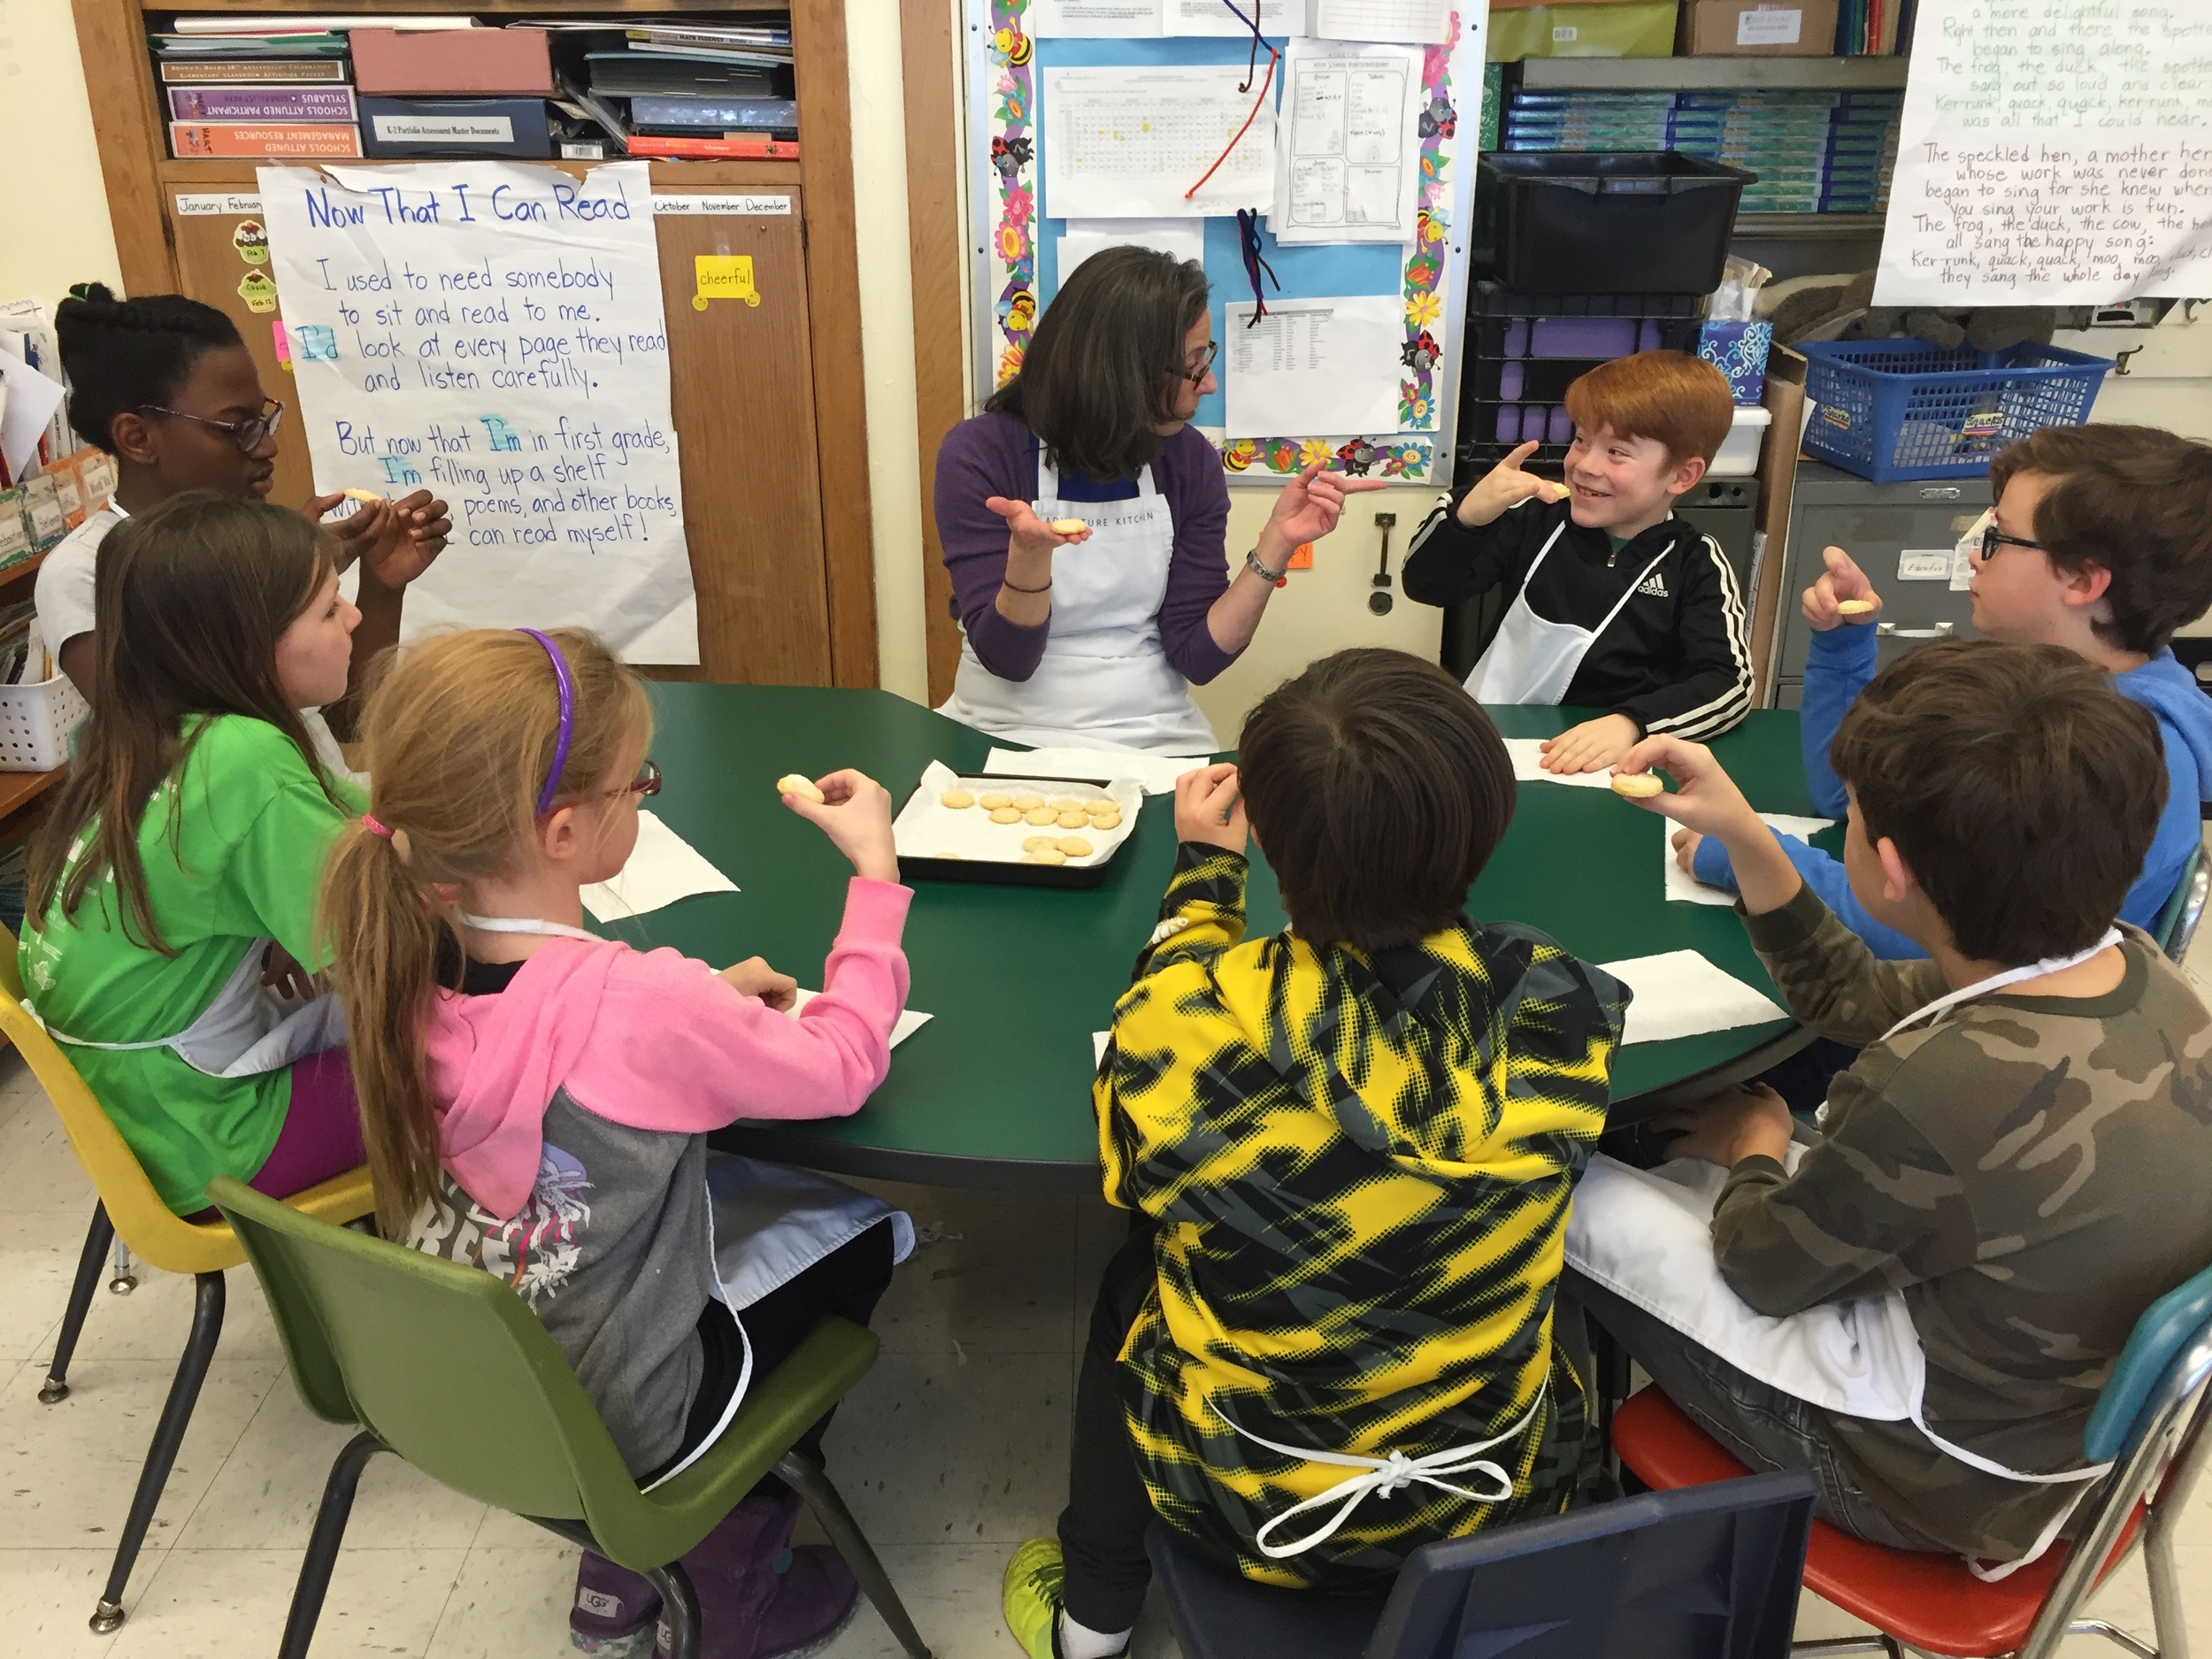
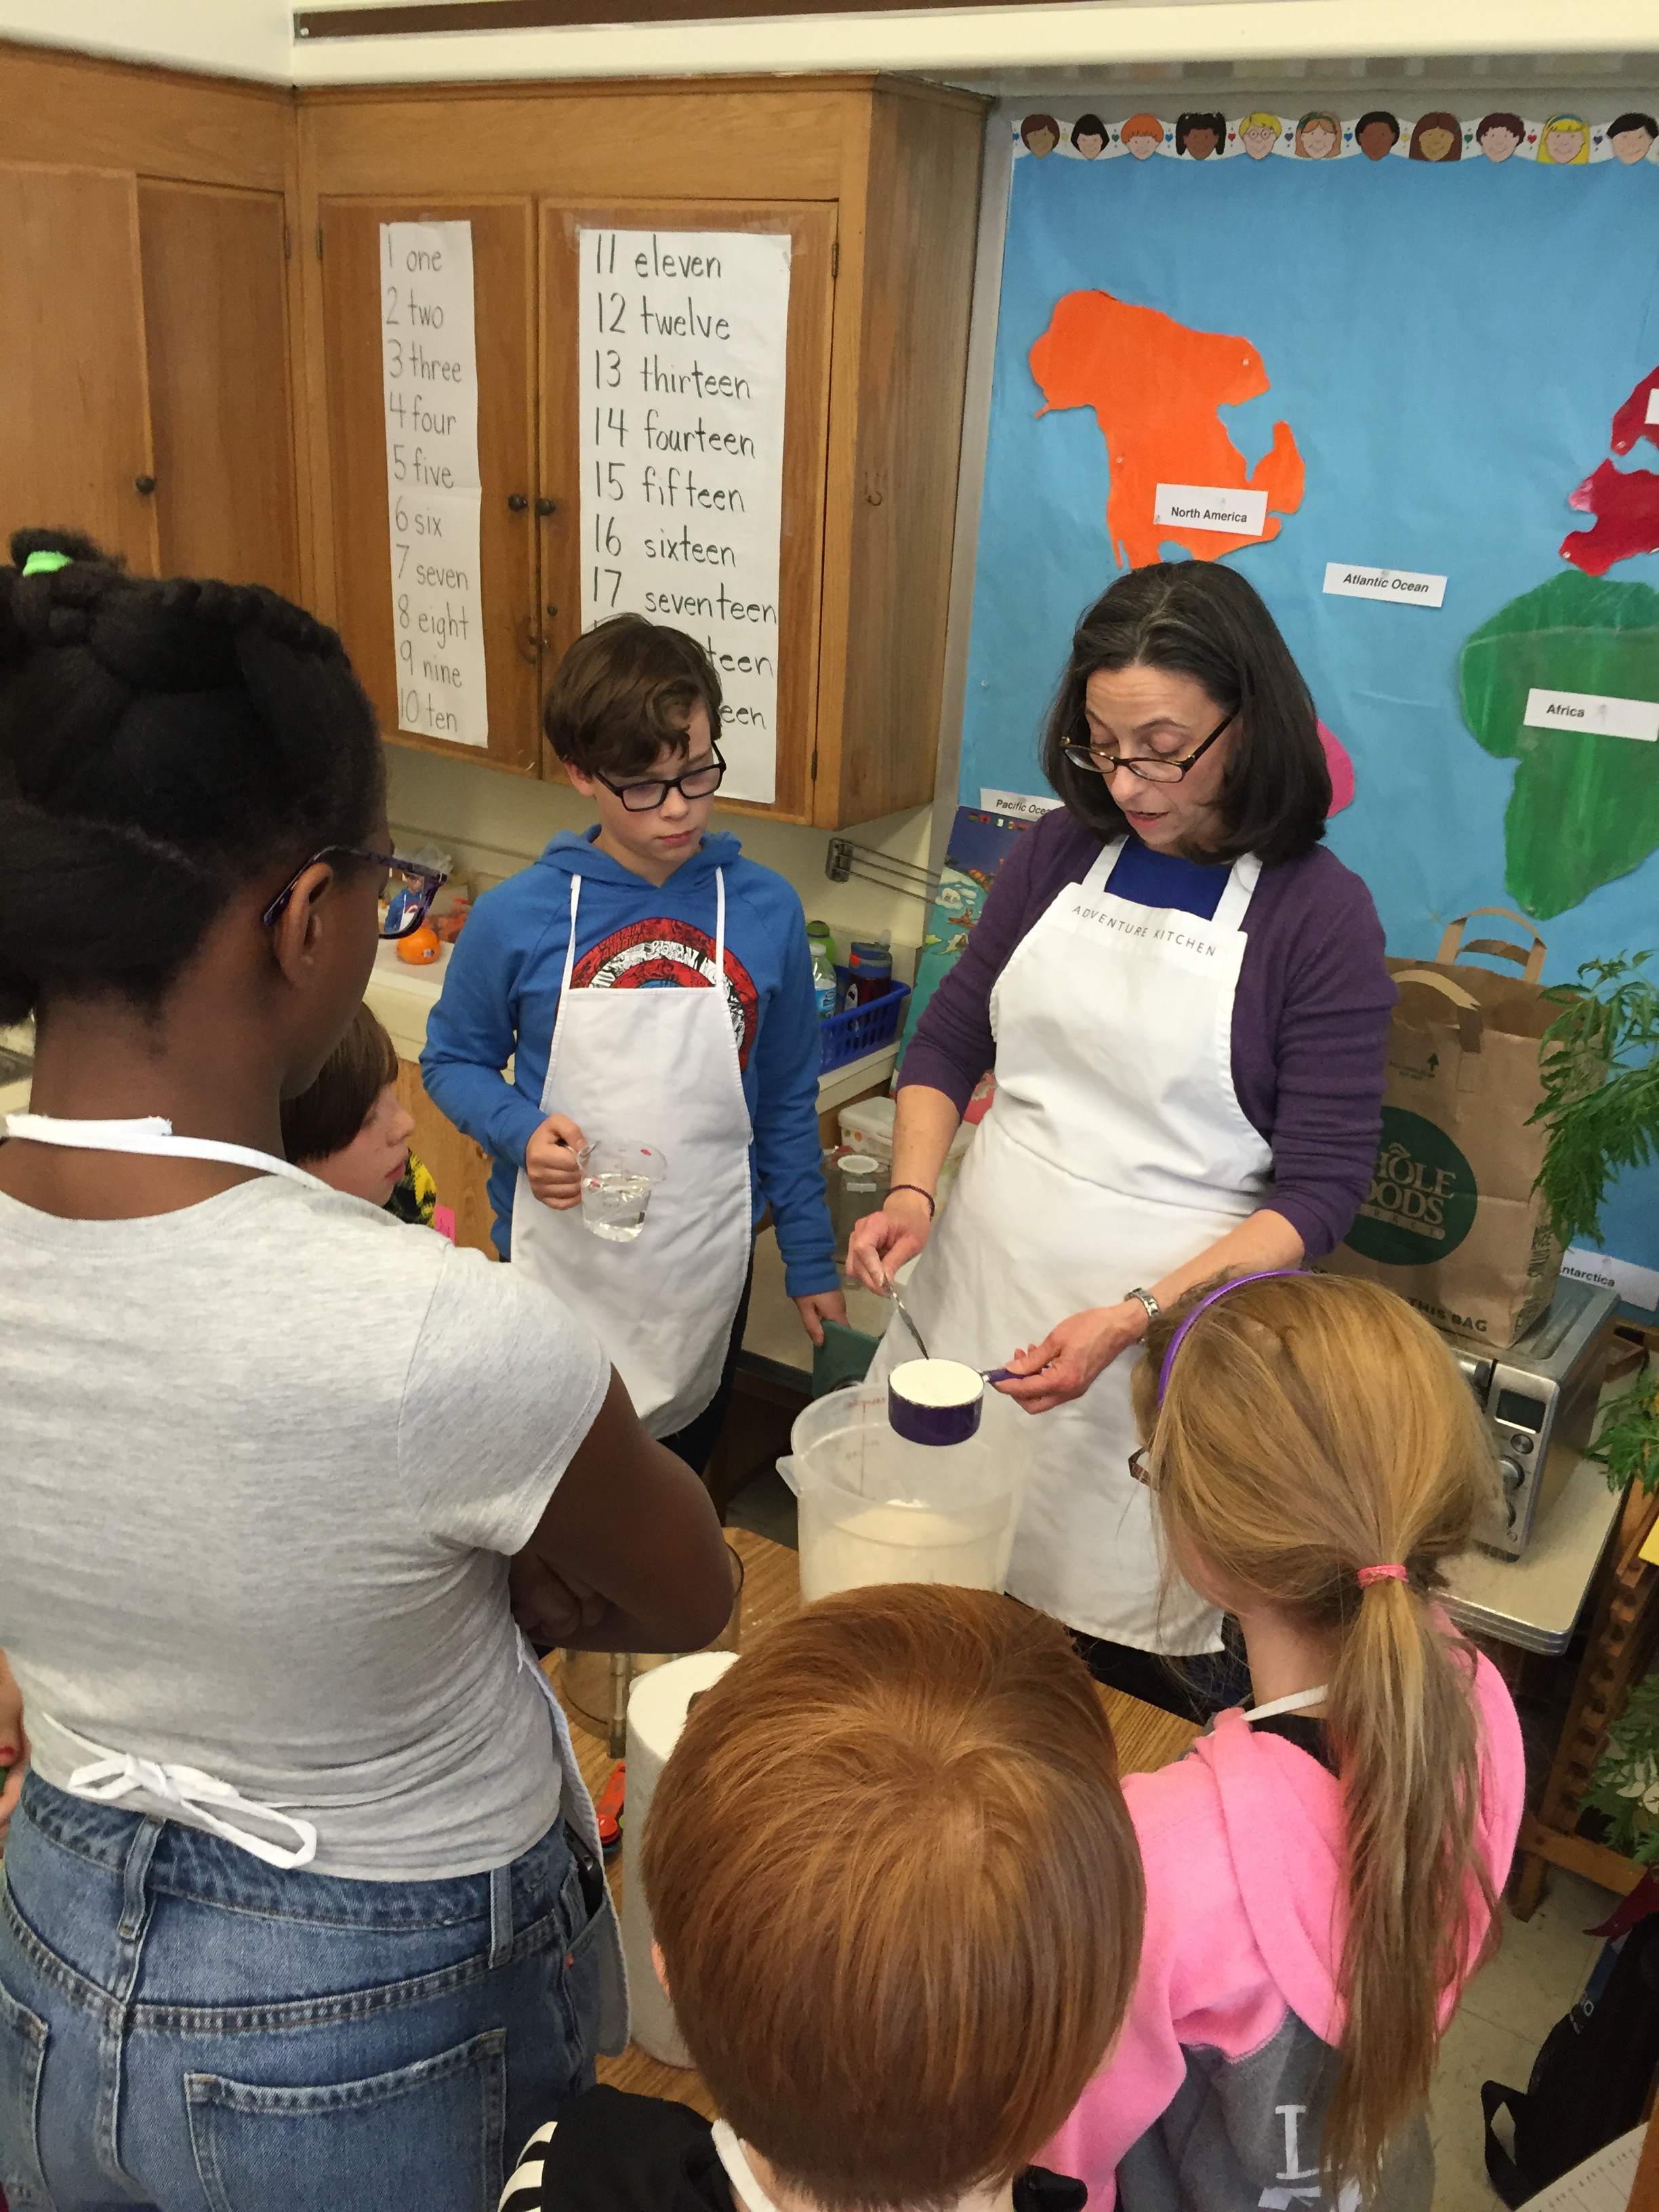
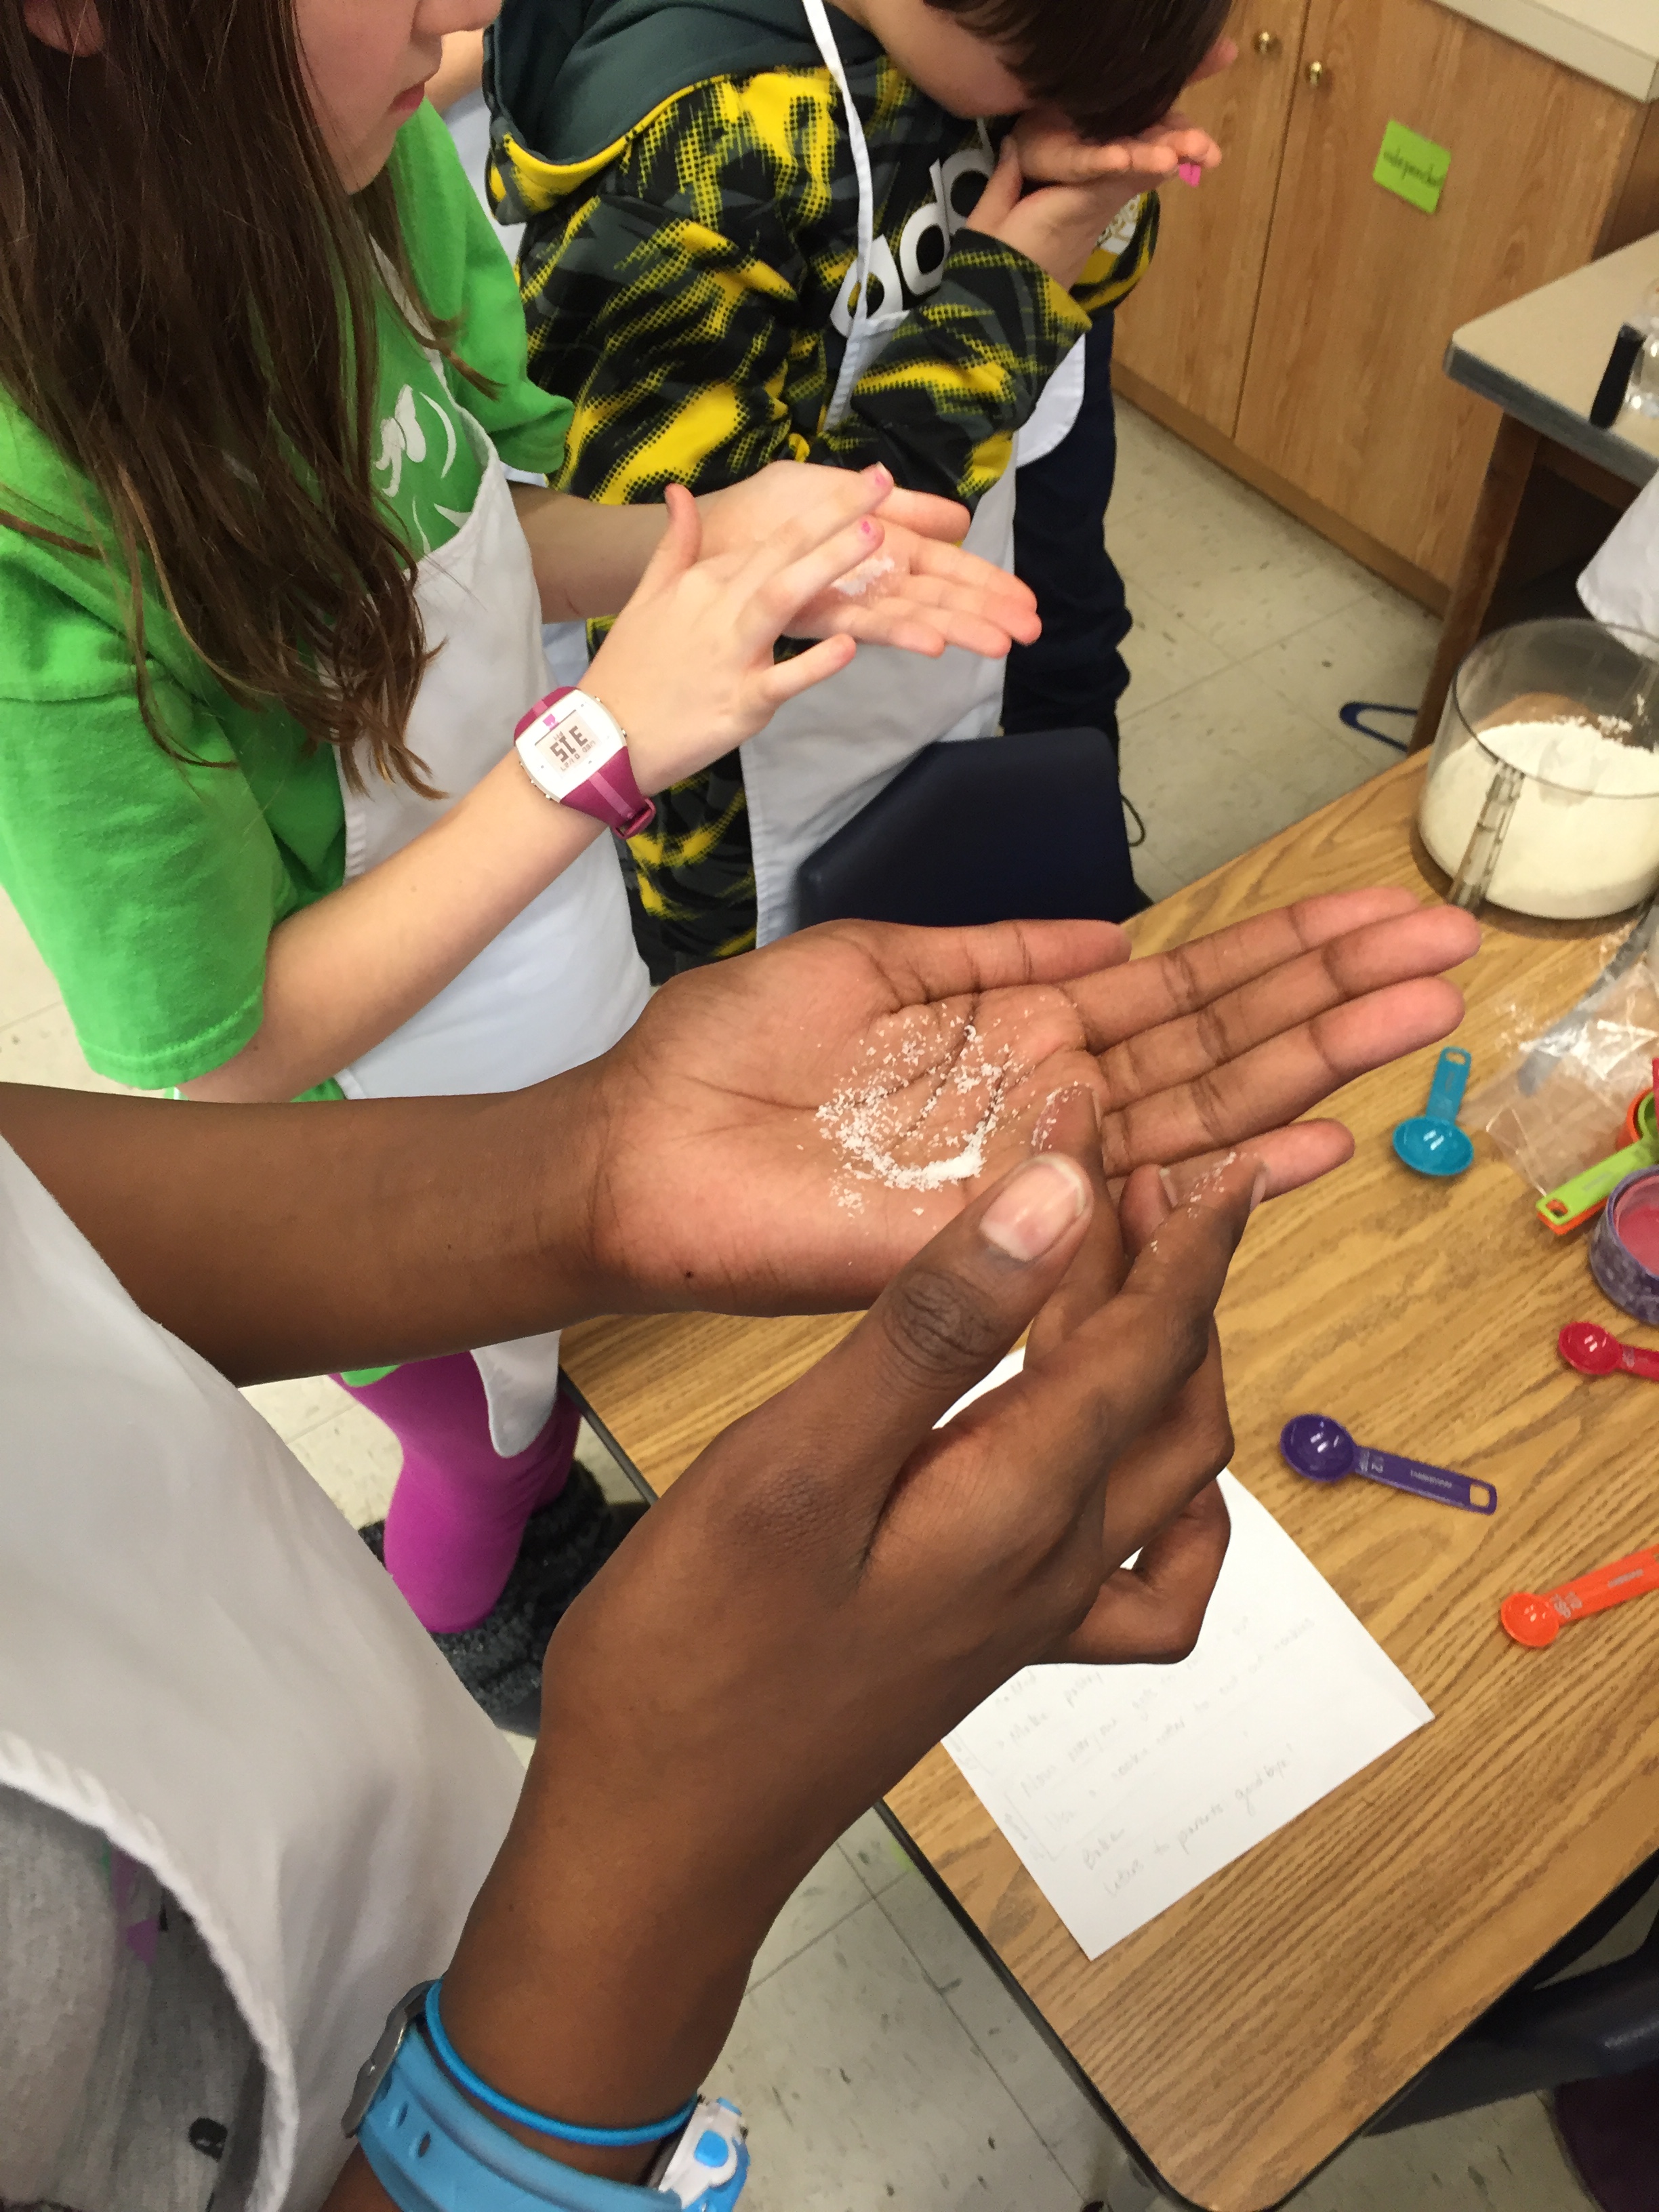
Pictures From Cooking Class
I was once honored to bring all this sophisticated deliciousness to local public school children! Check out the pictures from these cooking classes here.